Peakboard hub
Create flow
In this article you create a flow step by step in Peakboard Designer and upload it to Peakboard Hub. To learn what flows are and how they differ from regular projects, see Flows – Introduction.
Create a flow project
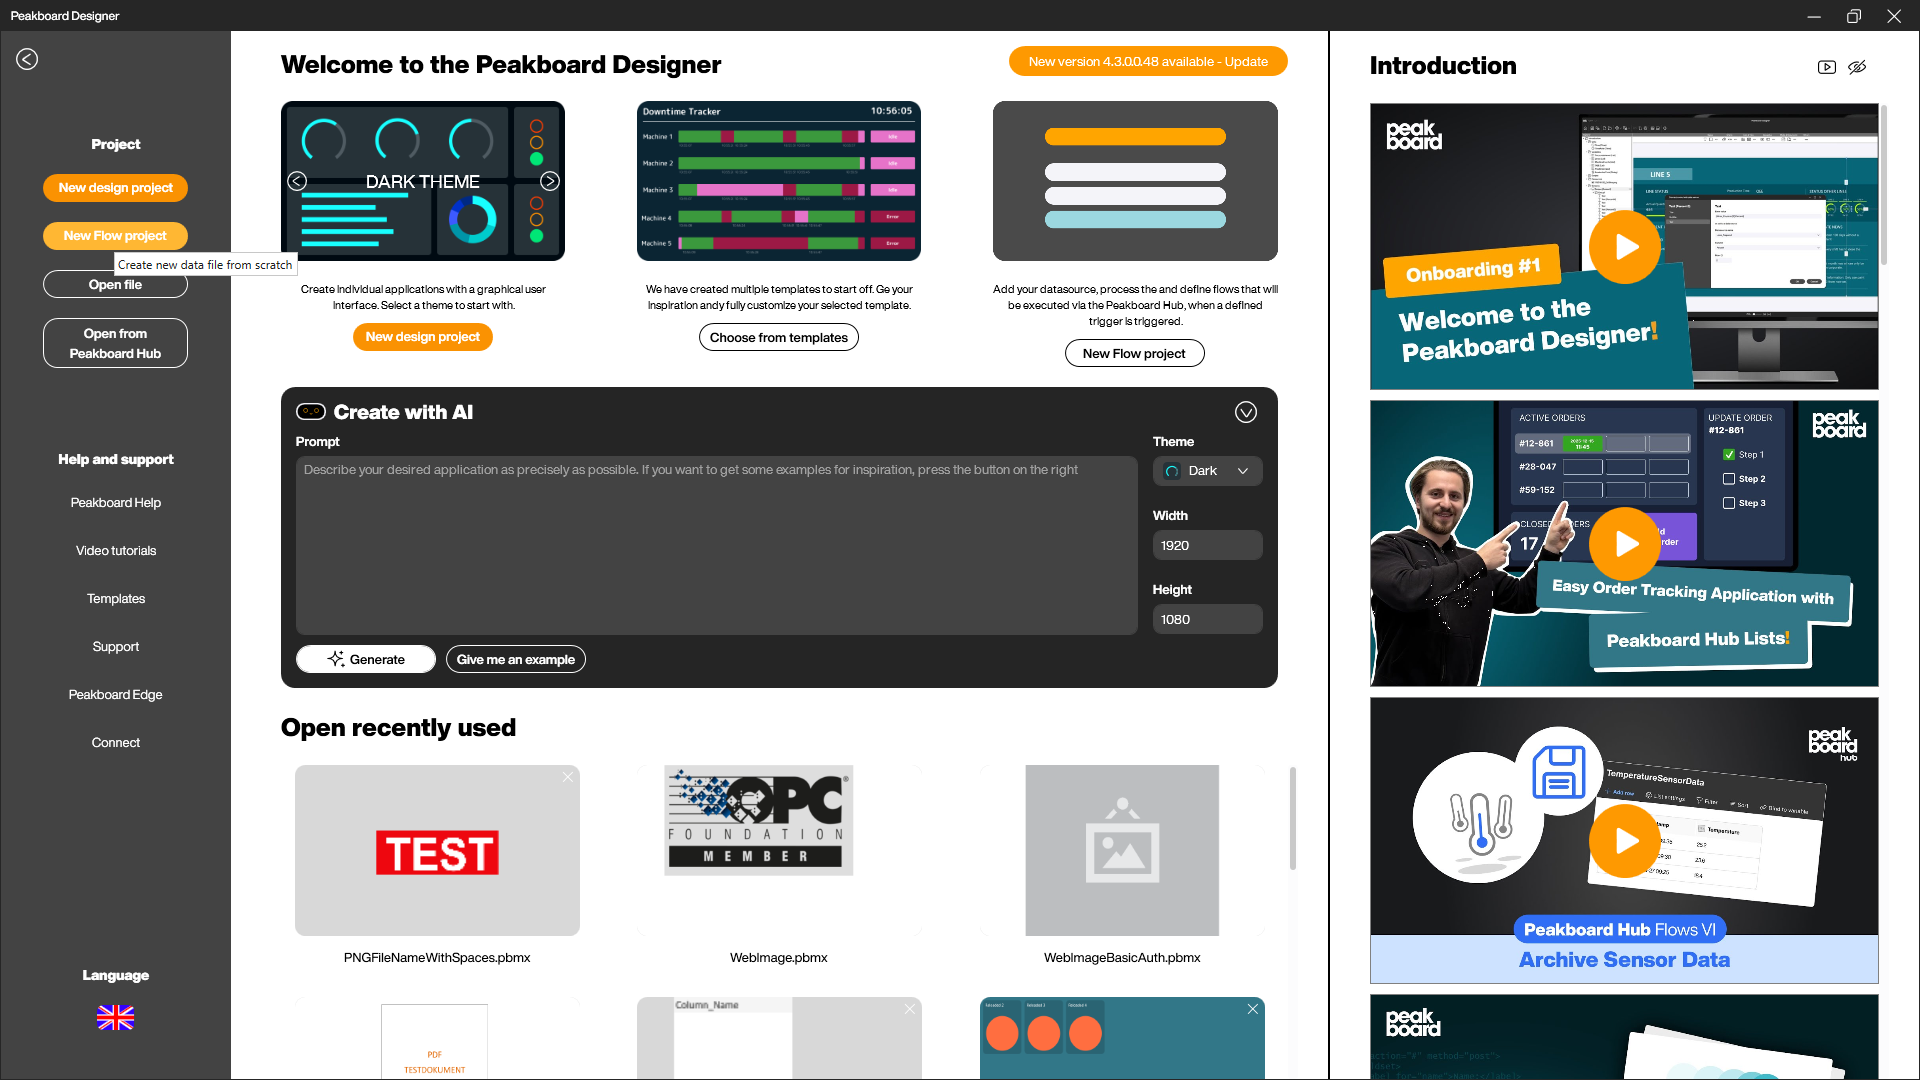
Open Peakboard Designer and click [New Flow project] on the start page. This creates a flow project (*.pbfx) that will later run in Peakboard Hub.
The flow project at a glance
A flow project contains the same building blocks as a design project – just without screens. In the Explorer you will find [Data], [Variables], [Scripts], and [Flows].

Add data sources and dataflows
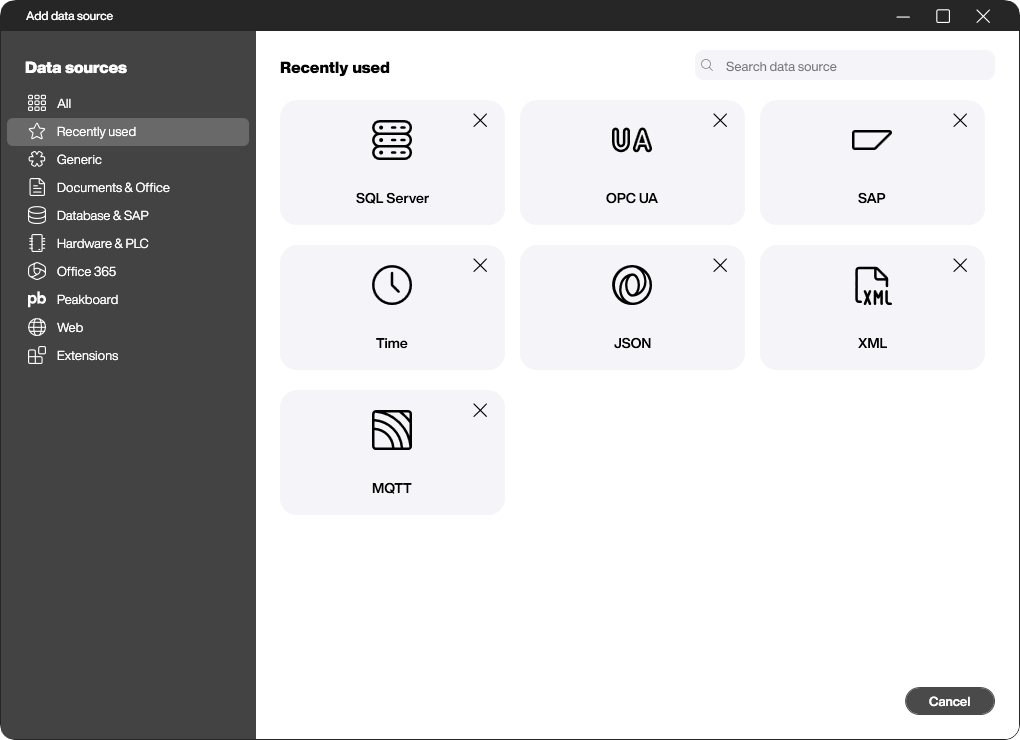
Add your data exactly as in a regular project: right-click [Data] and choose [Add data source] or [Add dataflow]. The full selection of data sources is available to you.
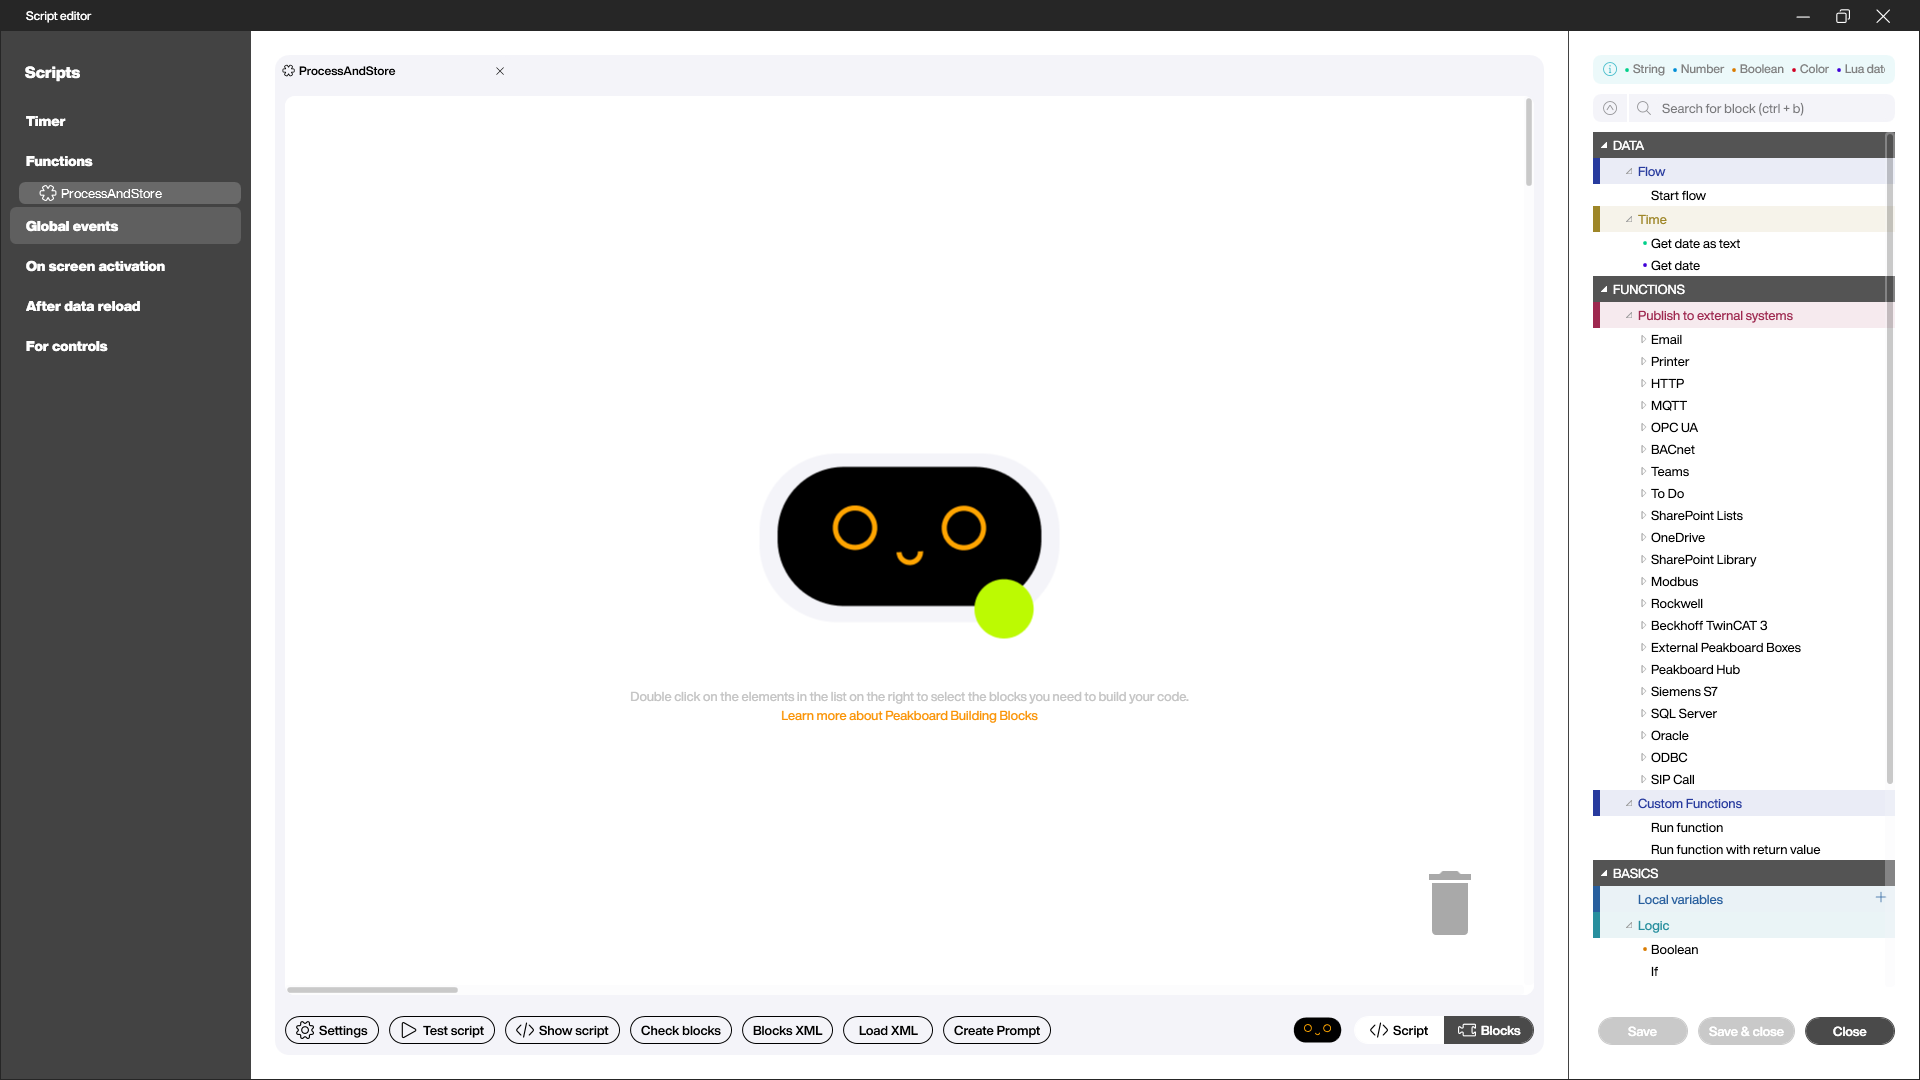
Build the logic in a function
You build the actual processing in a function with the Building Blocks. Create a new function under [Scripts]. In the [Publish to external systems] area you can, among other things, send results via [Email] or write them to [Peakboard Hub], [MQTT], [Siemens S7], or [SQL Server].
Define triggers and steps
Open your flow under [Flows] and define the sequence. From the [Select triggers and steps] (4) area, drag the building blocks into the flow:
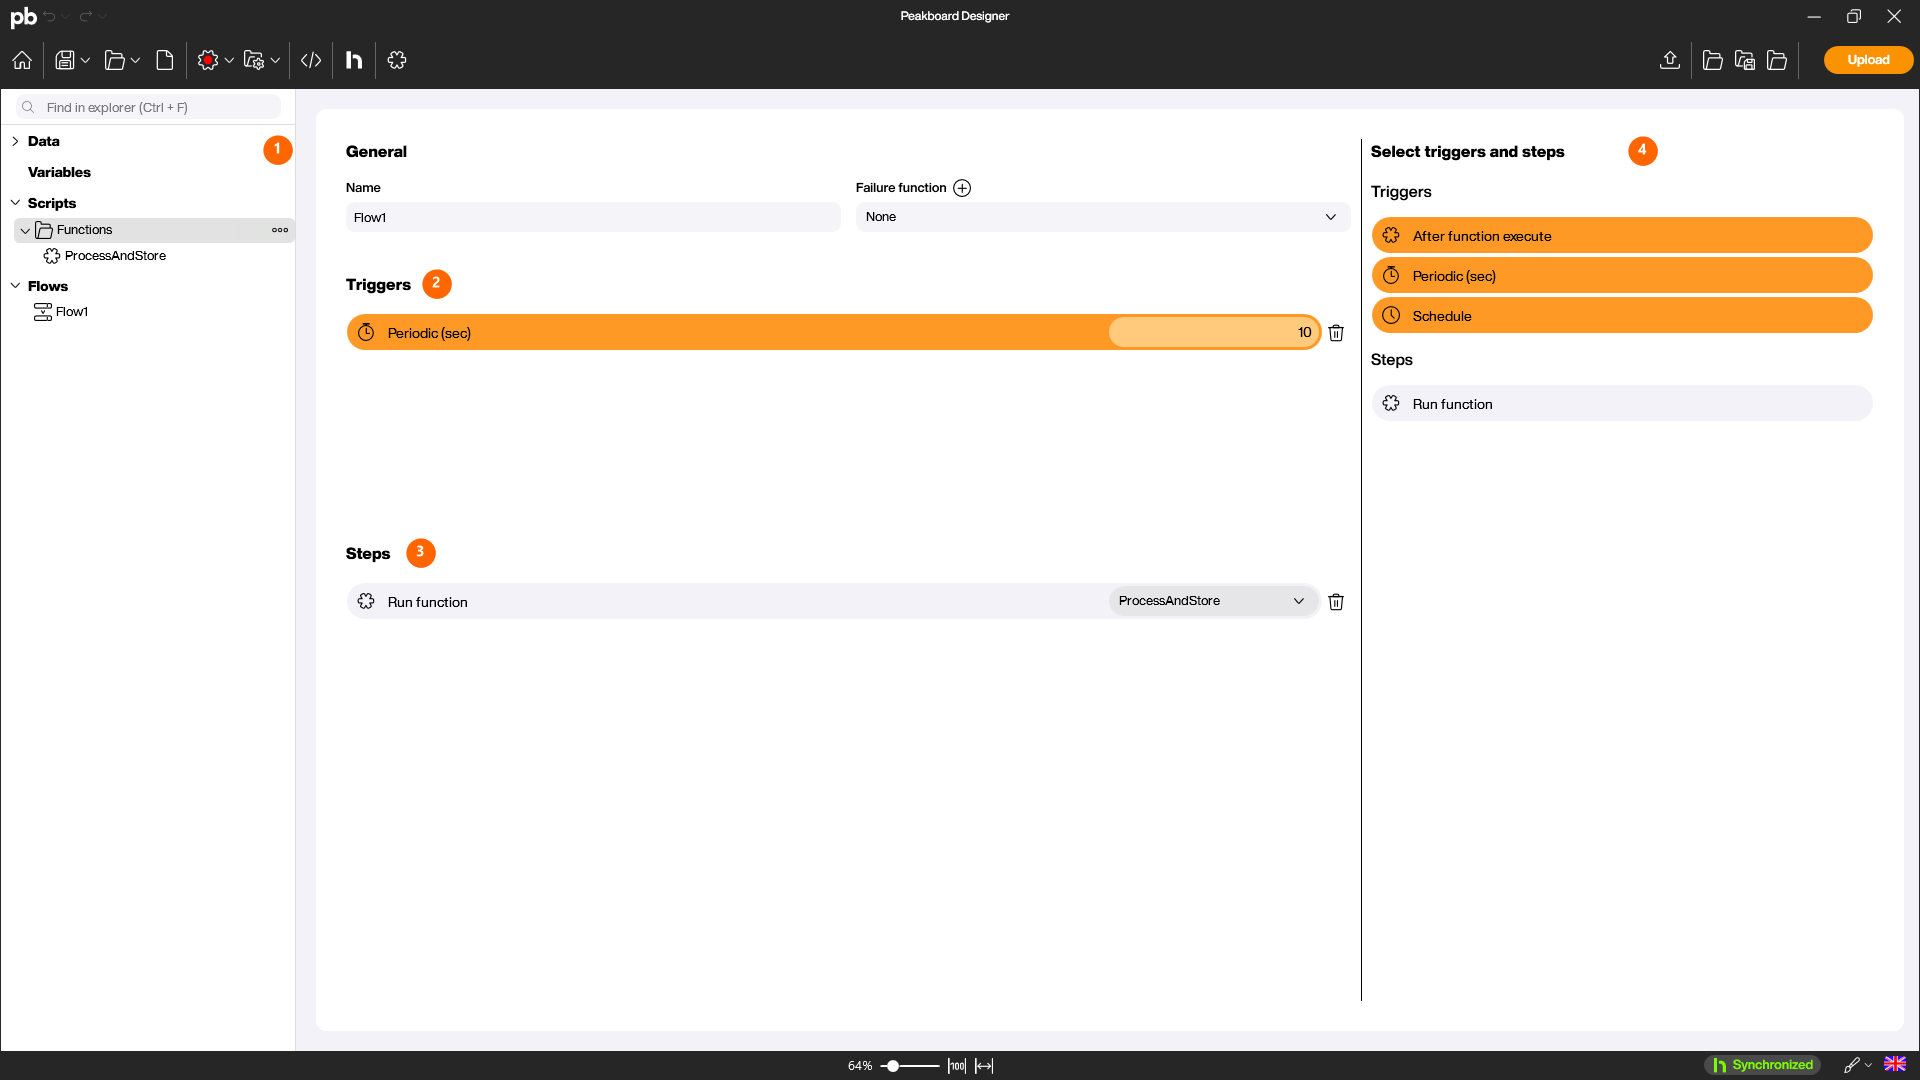
- Enter a descriptive name for your flow in the [Name] field.
- Under [Triggers] (2), add a trigger that determines when the flow starts – for example [Periodic (sec)] with an interval in seconds.
- Under [Steps] (3), add the steps the flow runs – such as [Run function], and select the function you created earlier.
Connect to Peakboard Hub
Before you can upload, connect the Designer to your Peakboard Hub. Click the [Peakboard Hub] button in the top menu bar.
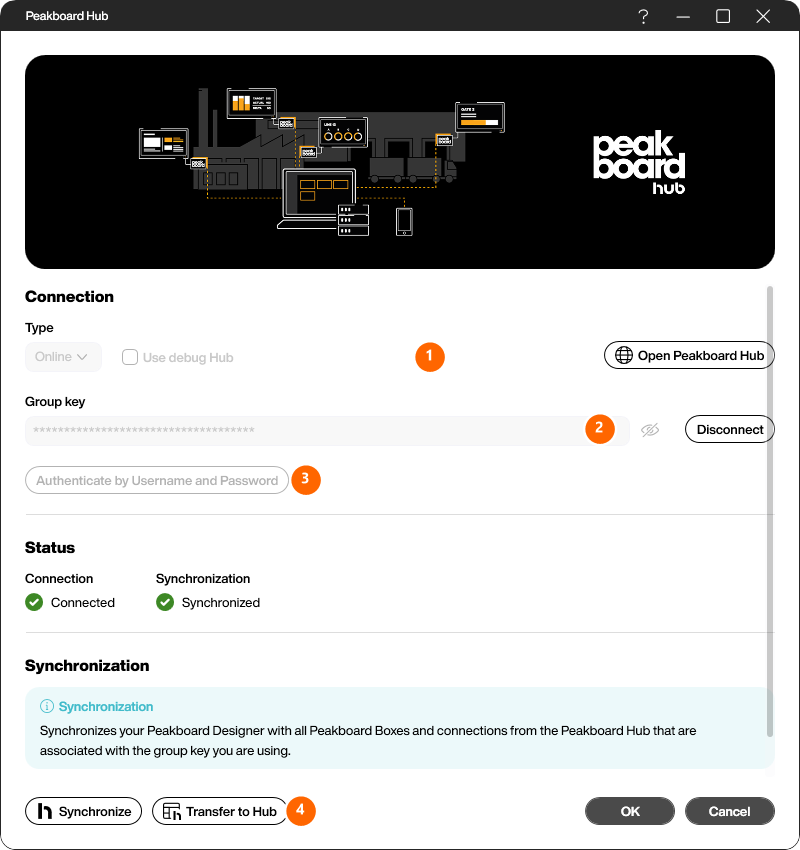
- Under [Type] (1), select your Peakboard Hub. Flow projects require a Peakboard Hub on premise.
- Enter your group key under [Group key] (2), or authenticate via [Authenticate by Username and Password] (3).
- Confirm the connection. Once [Connection] and [Synchronization] are green, the Designer is connected.
Upload the flow
Now click [Upload] in the top menu bar. The flow is transferred to Peakboard Hub. You will then find it in Peakboard Hub under [Peakboard Hub Flows] in the flow list, where you can follow its execution and logs.
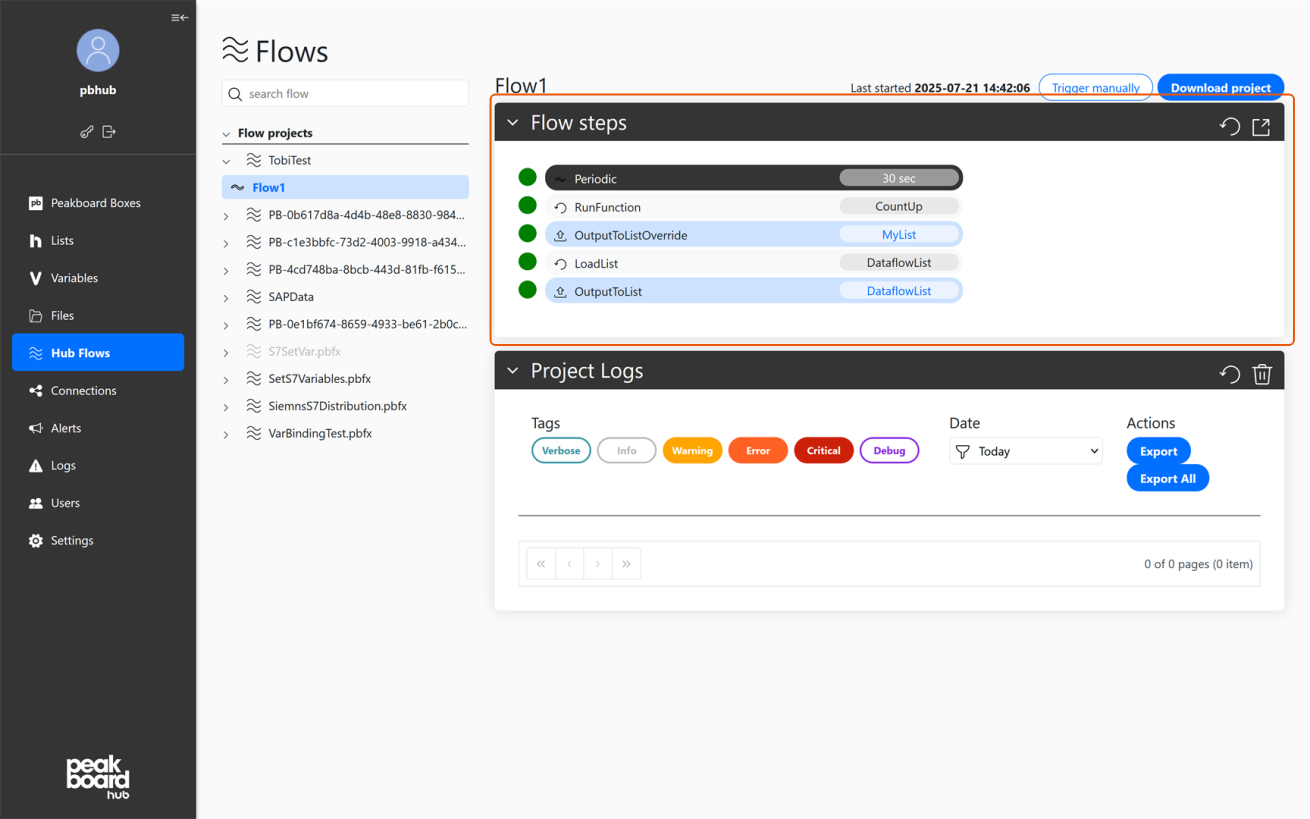
Your flow is now created and runs in Peakboard Hub. For how to control the running flow in the Hub, see Flows Overview. For an overview of typical use cases, see Flows – Use cases.