Controls
Video
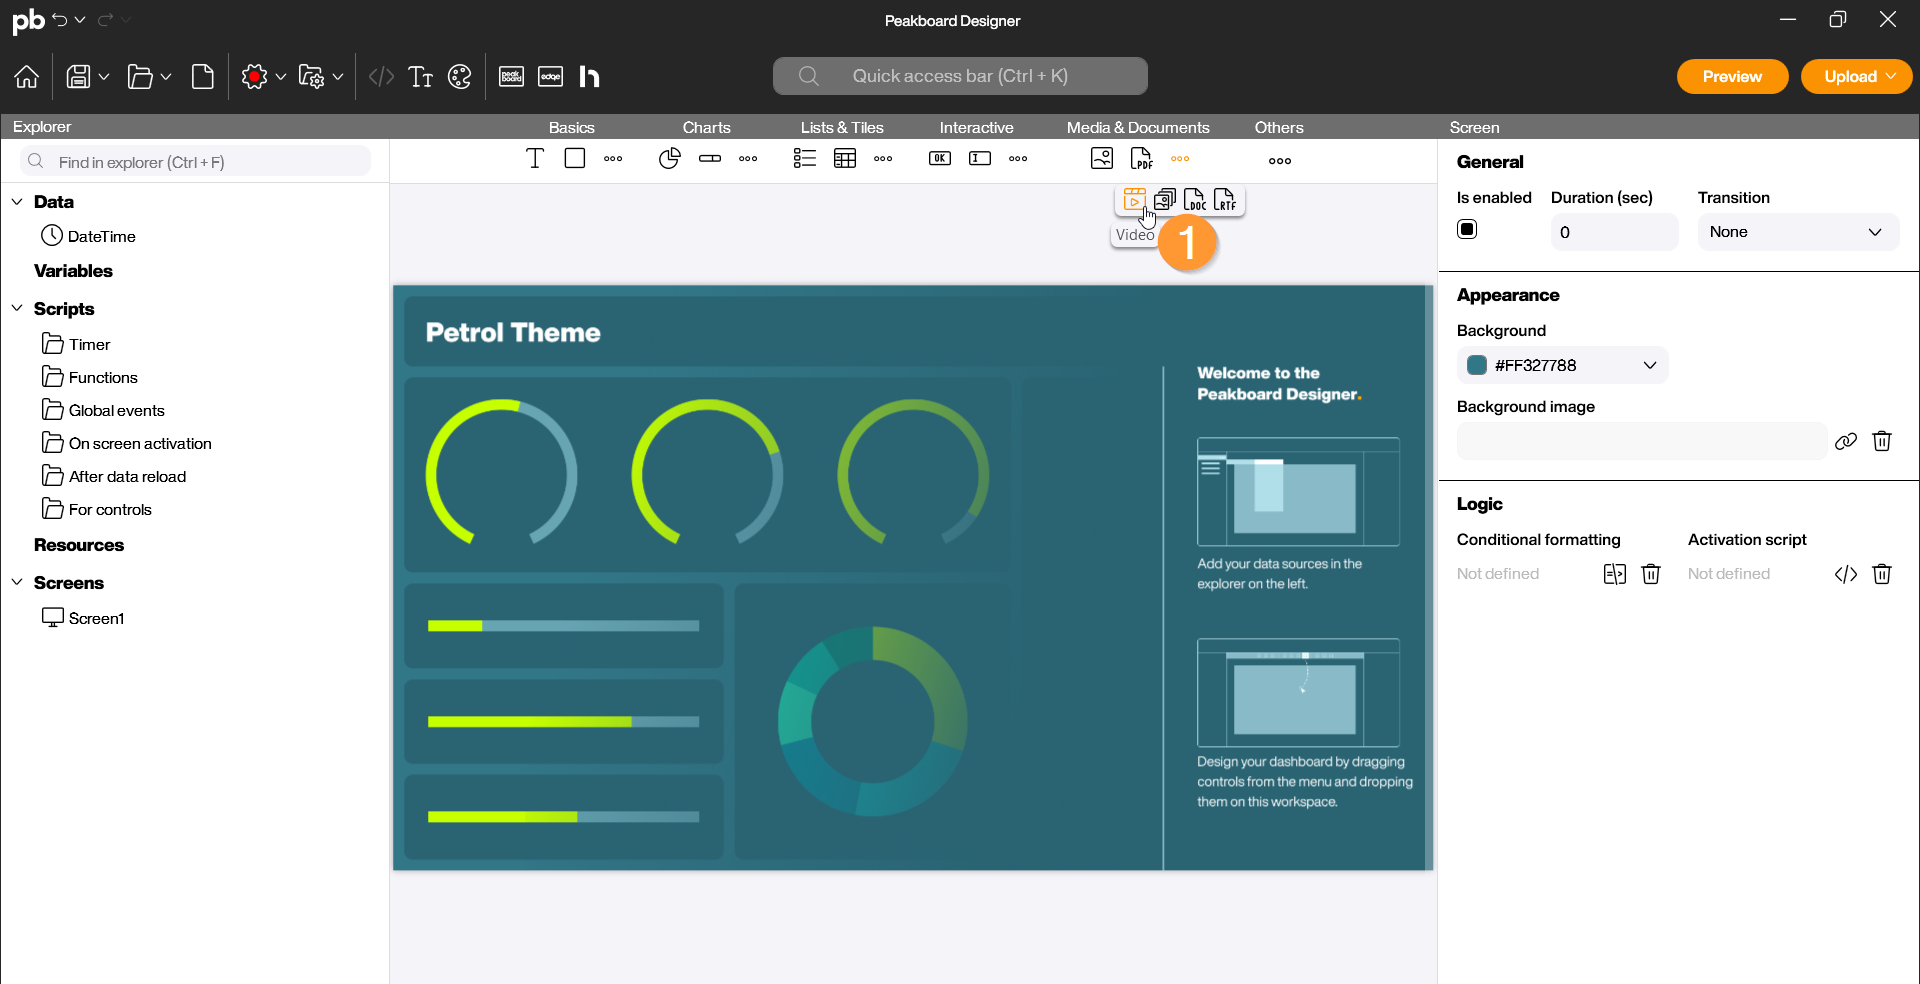
The Video control is an interactive function that allows you to integrate videos into your visualization. In addition to displaying static explanatory videos or background loops, Peakboard supports the dynamic loading of video content from various sources such as web URLs, local network paths, or cloud resources. The control can also be used to seamlessly play pure audio, as it supports MP3 files. You can find the Video control in the Peakboard Designer in the Media & Documents group (1). Drag and drop the icon into your designer or double-click to place it on your workspace.
Configuration and Properties
1 Data Source and Video Selection
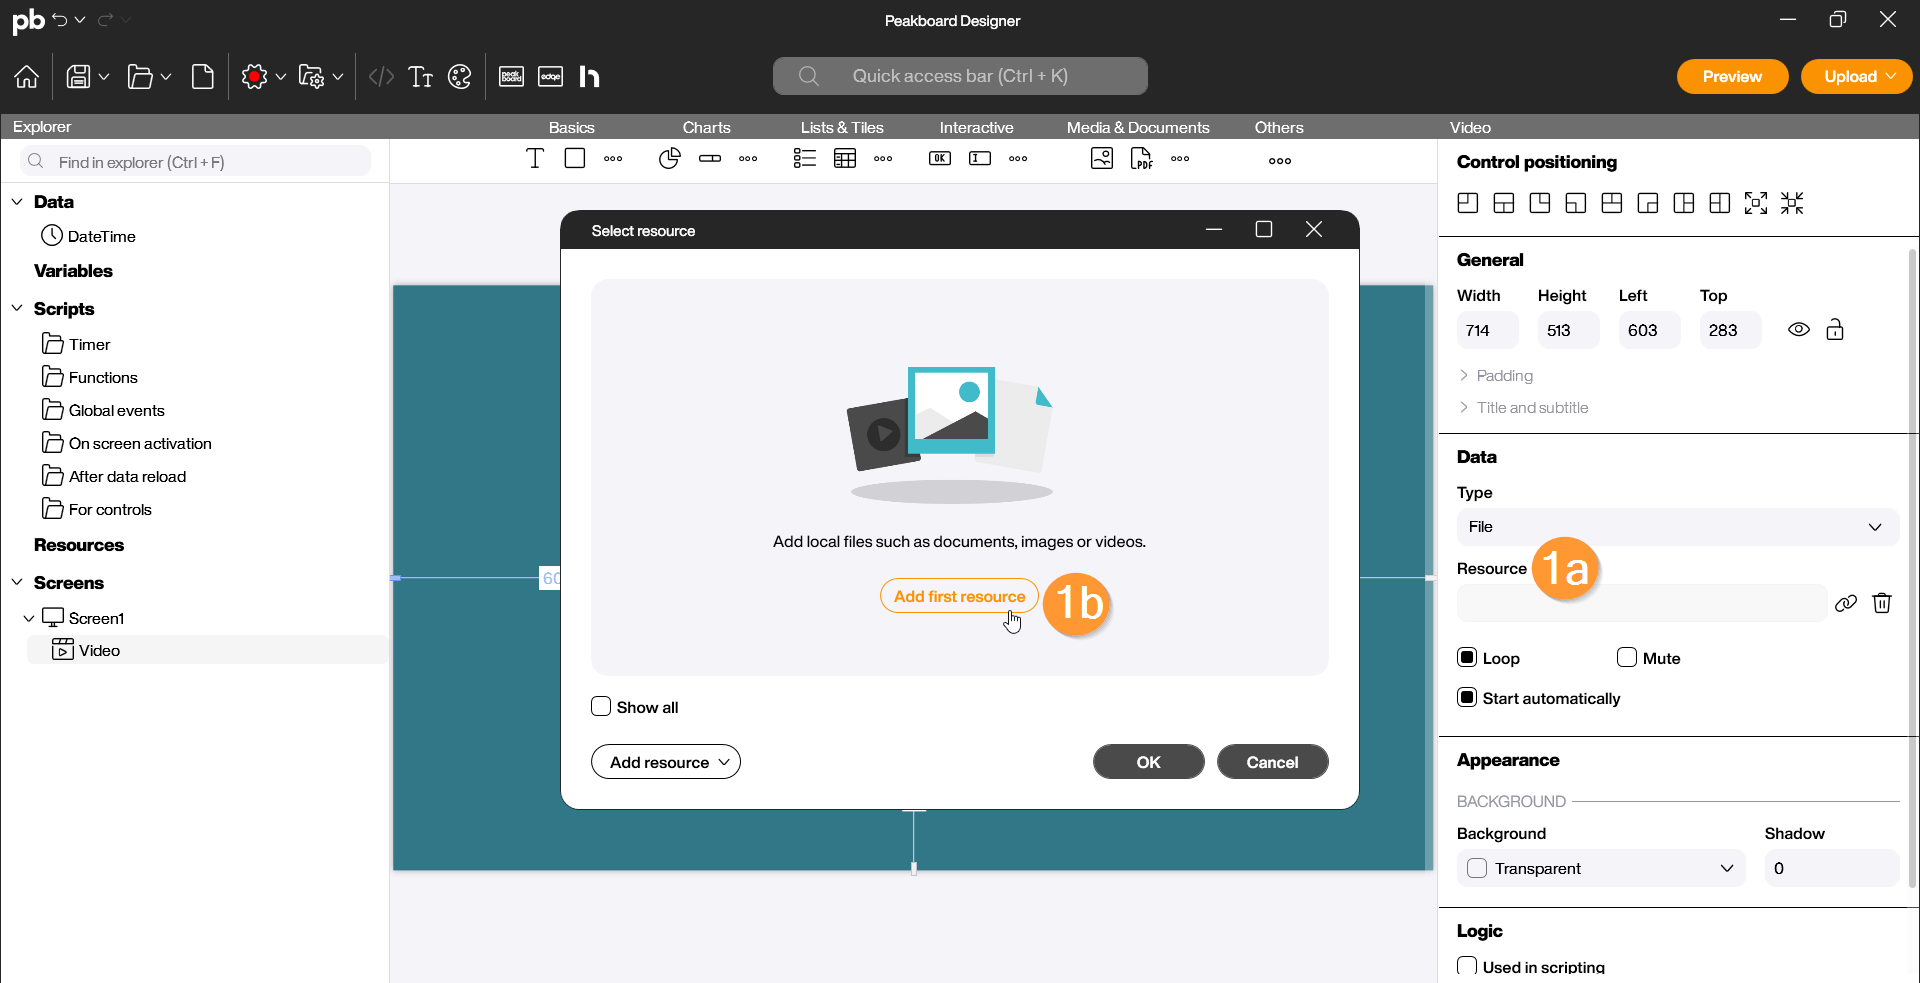
A Video control can be filled with content in various ways. Double-click the control to open the configuration dialog:
- Static Resource:Select a video from your local resources that is permanently stored in the application (e.g., an assembly manual). This can be a local file or a stream (1a, 1b).
- Dynamic Linking (Data Binding): Link the control to a data source or a variable (via the data binding on the left) that contains a path or a URL. The video is then automatically loaded or updated at runtime.
2 Appearance and Control
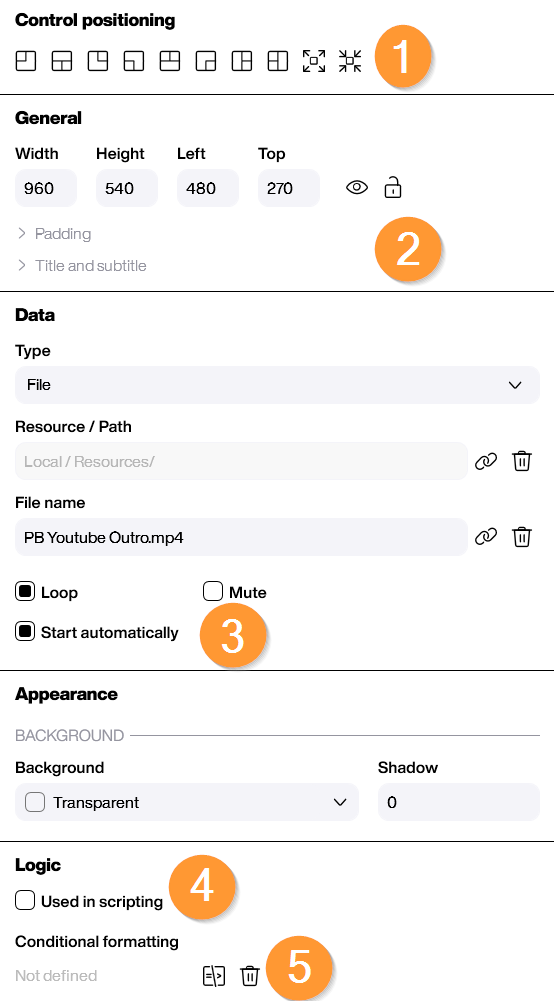
In the properties on the right side, you can precisely control the behavior and representation of the video:
- Loop (Data): Determine whether the video should automatically start over after it ends (1).
- Autoplay (Data): Activate this option if the video should play automatically as soon as the visualization starts. To start or pause a video manually, another control tool is required, such as an icon, to start or pause the video via script (2).
- Mute (Data): Set whether the video should play with or without sound by default (3).
Scripting
The Video control offers specific commands to dynamically influence playback.
Example: Start and stop video via button
In this example, we use two buttons to manually control a video. Choose two buttons or icons for starting and pausing the video. To edit the video with the buttons in the script editor, give the Video control a name under “Use in scripts.”
Steps in the Script Editor:
- Open the script editor of the “Start” button under “Tapped”.
- Select the Start block under your Video control’s category.
- Add the “Write to log”** block and enter “Video started.”
- Repeat the process for a “Pause” button with the “Pause” block.
Start the preview and check the Log (second icon from the left) to see if the video starts and pauses correctly. If you want to display the status in the log, add the “Write to log” block and enter “Video started.”
In this video, it is once again illustrated how the script for this example is built and tested for successful functionality: