Controls
Toggle Switch
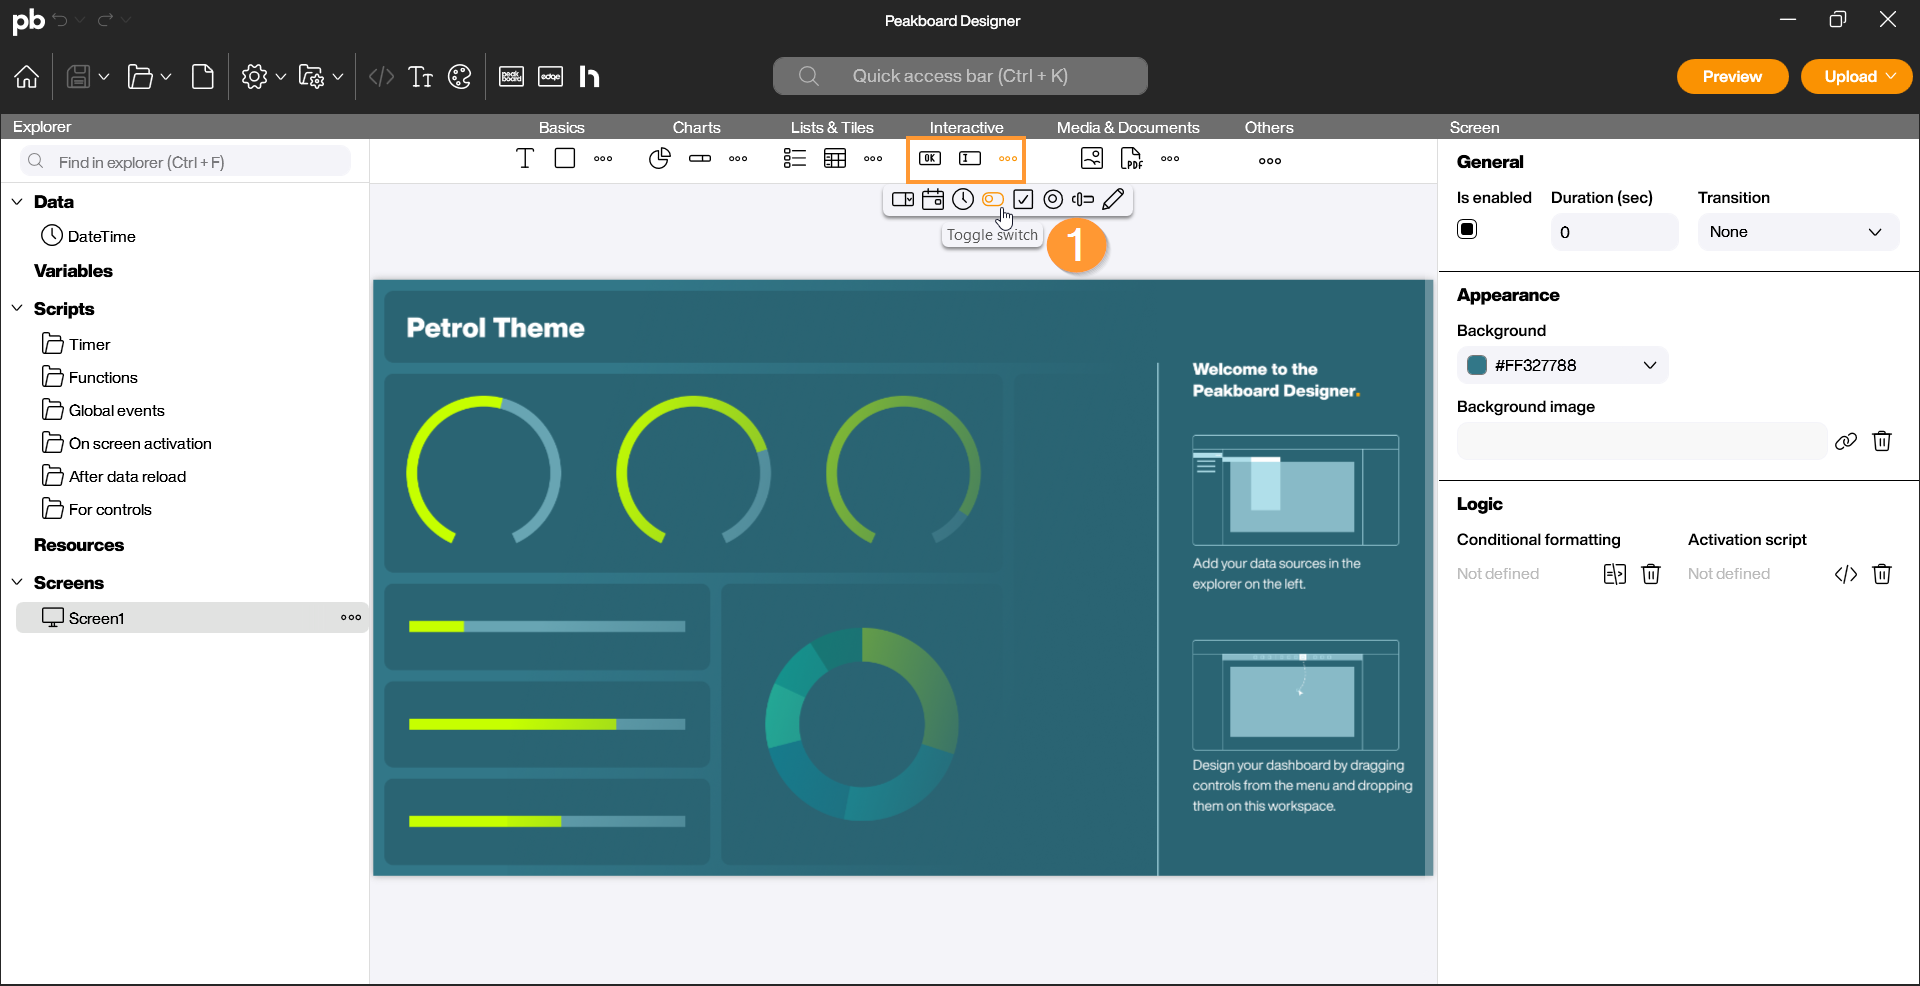
With the toggle switch control, you can choose between two states, for example, On/Off or Start/Stop. The control is primarily used to change Boolean values in a data source or to control interactive processes in a visualization. You can find the toggle switch in the Peakboard Designer under the Interactive group (1). Click on the three dots and select the toggle switch icon. Drag and drop the icon onto your workspace.
Configuration and Properties
Once you double-click the toggle switch, the configuration dialog will appear.
1 General and Data Binding
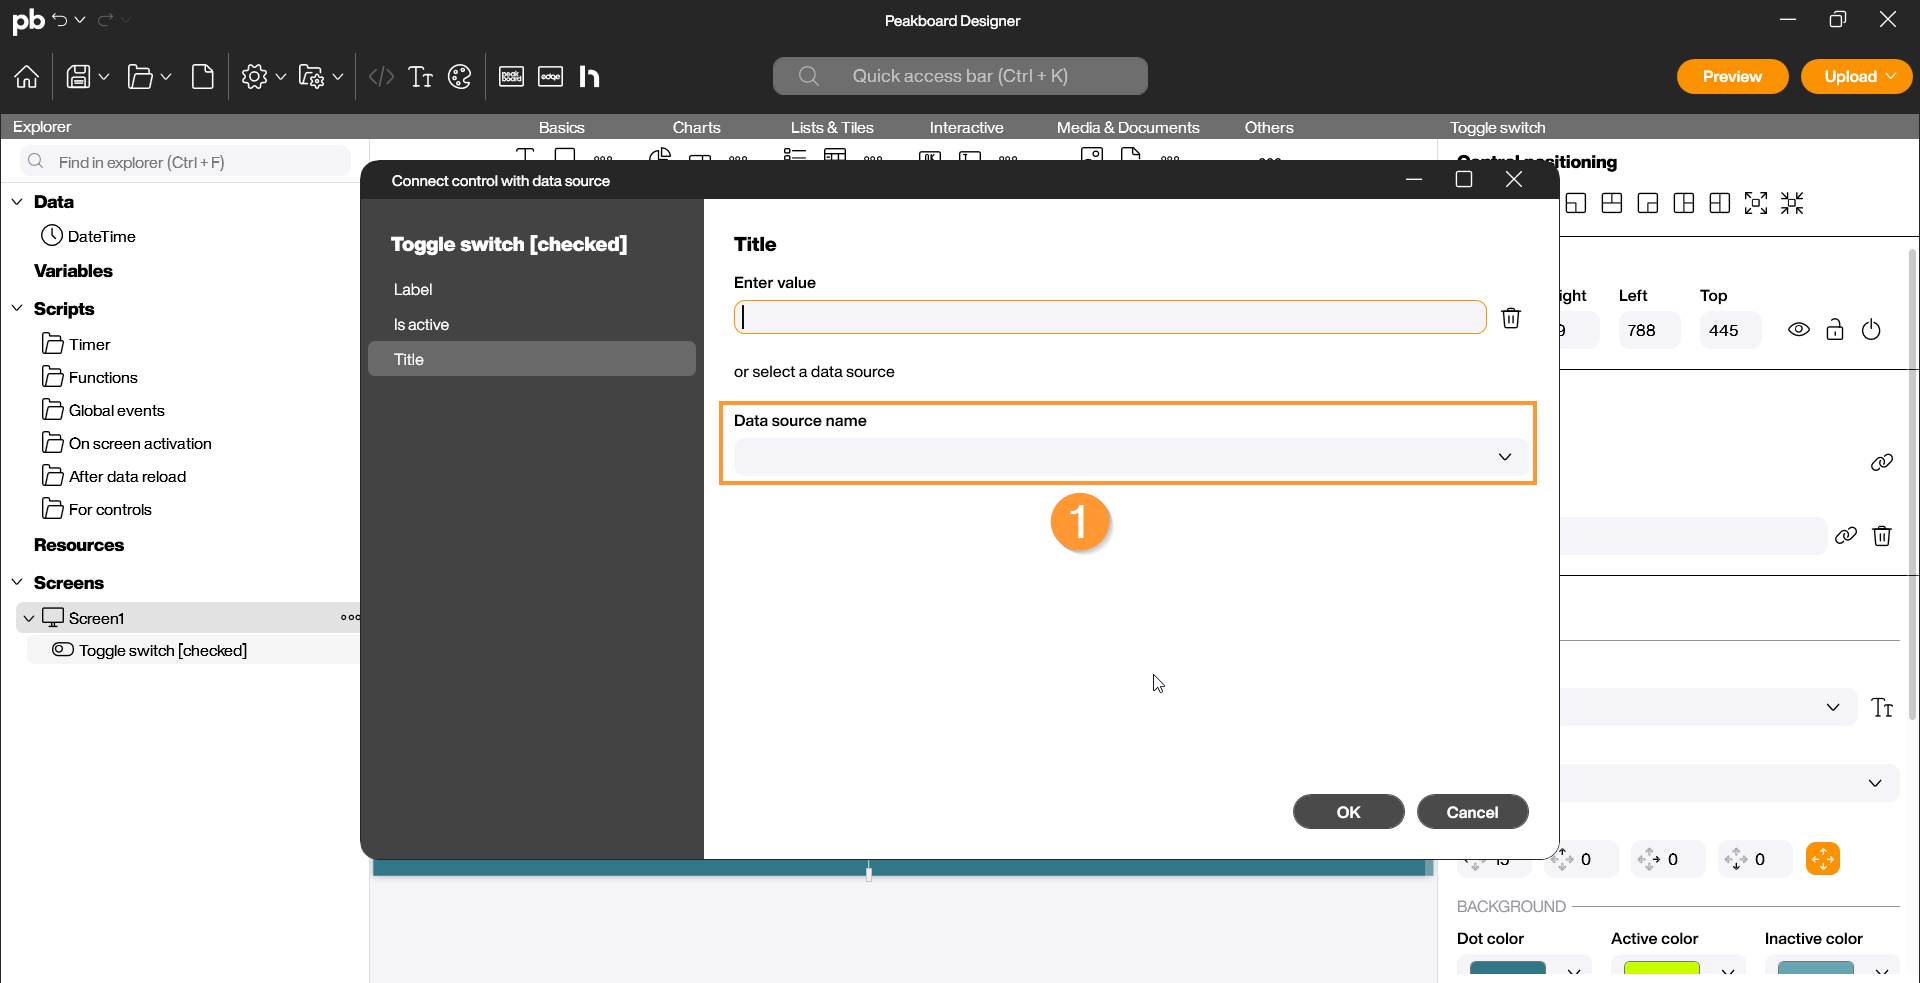
In this section, you define the identity of the switch:
- Data Source: Here you set up the data connection (1). You can bind the switch directly to a data source (e.g., a Boolean variable). When the state of the switch changes, the value is immediately written back to the variable.
2 Appearance and Label
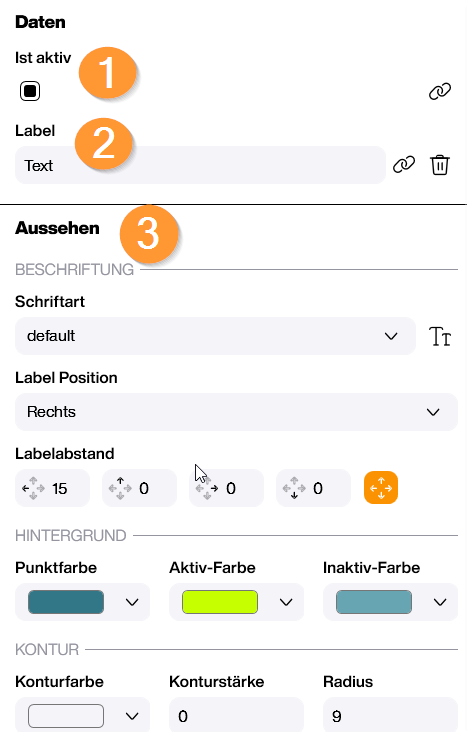
In the properties panel on the right, you can adjust the visual design:
- Initial State (Data): You can determine whether the checkbox should be activated or deactivated by default when the visualization starts.
- Label (Data): Here you can assign a label to the toggle switch.
- Font & Color (Appearance): Font & Color (Appearance): Customize the font and color of the label, as well as the color of the checkmark and the frame, to match your dashboard design. Under “Border”, you can determine how rounded or angular the switch should appear.
Scripting
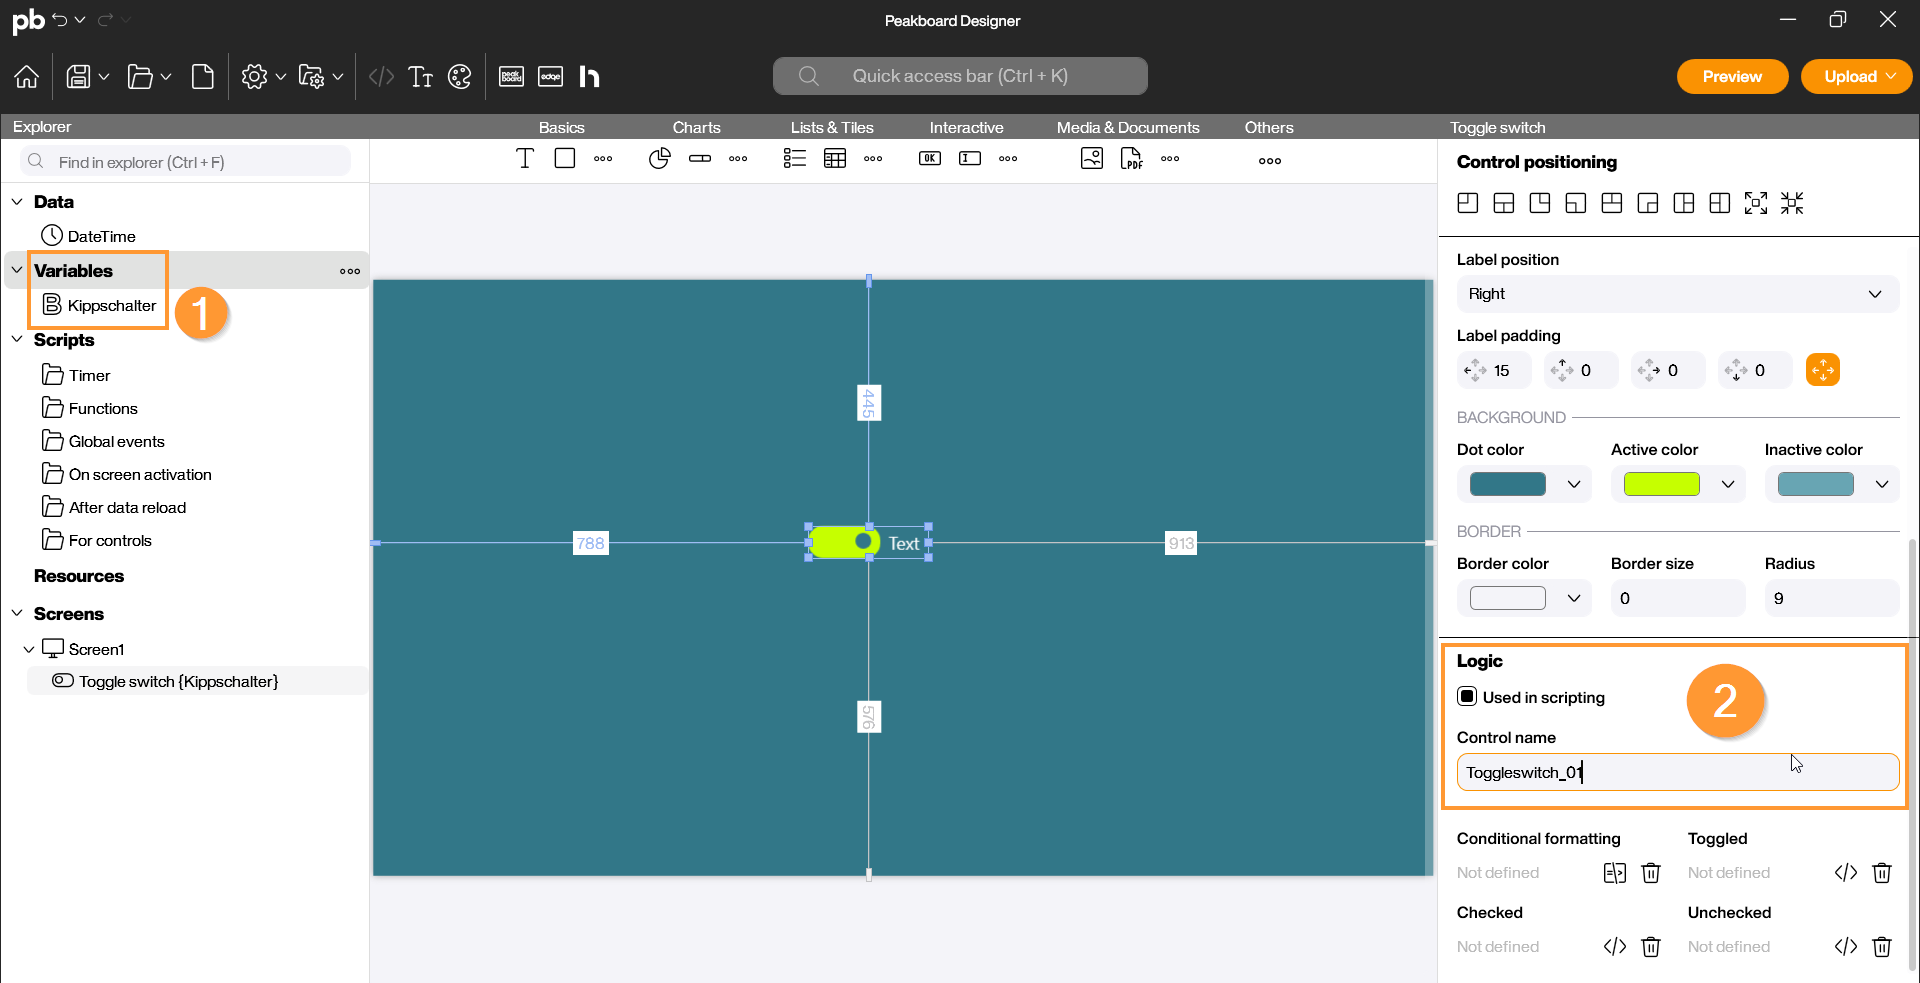
To use the control in a Building Block script, it is important that the toggle switch is initially linked to a fixed Boolean variable (1). It can be helpful to enable the “Used in Scripting” function (2).
Example: Checking if the Toggle Switch is Activated
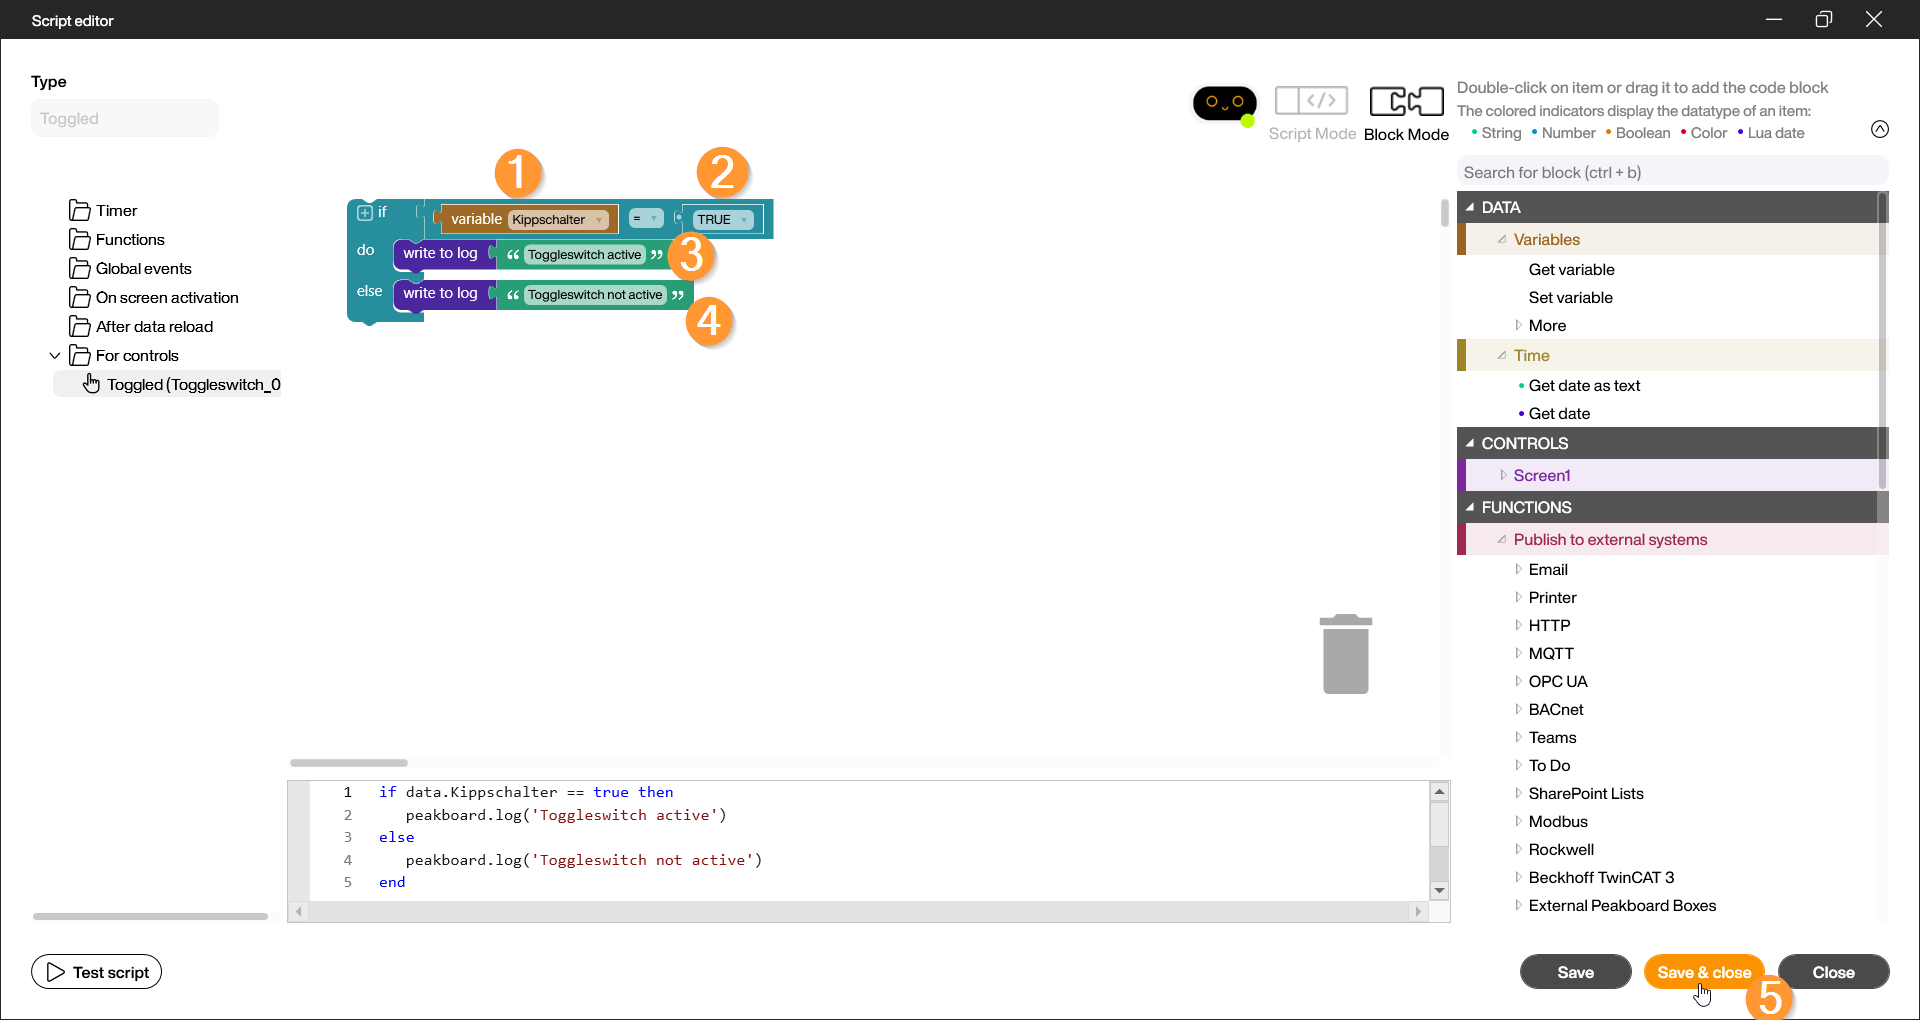
- Open the script editor in the Designer at the bottom right under “Logic” and “Toggled”.
- Under the block category “Basics” and “Logic”, select the “If-Else”-Statement block by double-clicking it or drag it onto the editor workspace.
- Select the “Get Variable” block under the “Variables” category and place it in the first empty field of the If-Else block (1). Make sure the correct variable is active.
- Scroll down to “Logic” and select “Boolean”. Drag it into the empty field in the If-Else block (2). If the variable is not active and the switch is inactive, select False.
- Under “Functions” and “Peakboard Box”, select the “Write to Log” block and place it in the next row of the If-Else block (3). Enter “Toggle Switch Active” or something similar in the green text field. Repeat the last step and select the “Write to Log” block again, or right-click the block and choose “Duplicate”. Place this block at the Else section and change its content to “Toggle Switch Not Active” (4).
- Save the script using “Save and Close” (5).
Start the preview and check the log (1) to verify that the return value is correctly displayed depending on the toggle switch state. Click the switch to interact with it.

This video demonstrates how the script for this example is structured and verified for correct functionality: