Data sources
MQTT
The MQTT data source gives you access to the subscription model of an MQTT server (see https://en.wikipedia.org/wiki/MQTT). MQTT (Message Queue Telemetry Transport) is a lightweight messaging protocol designed for low-bandwidth scenarios and unstable networks. It is based on a publish-subscribe model, with a broker serving as an intermediary that receives messages from publishers and forwards them to subscribers subscribed to specific topics.
Add the data source
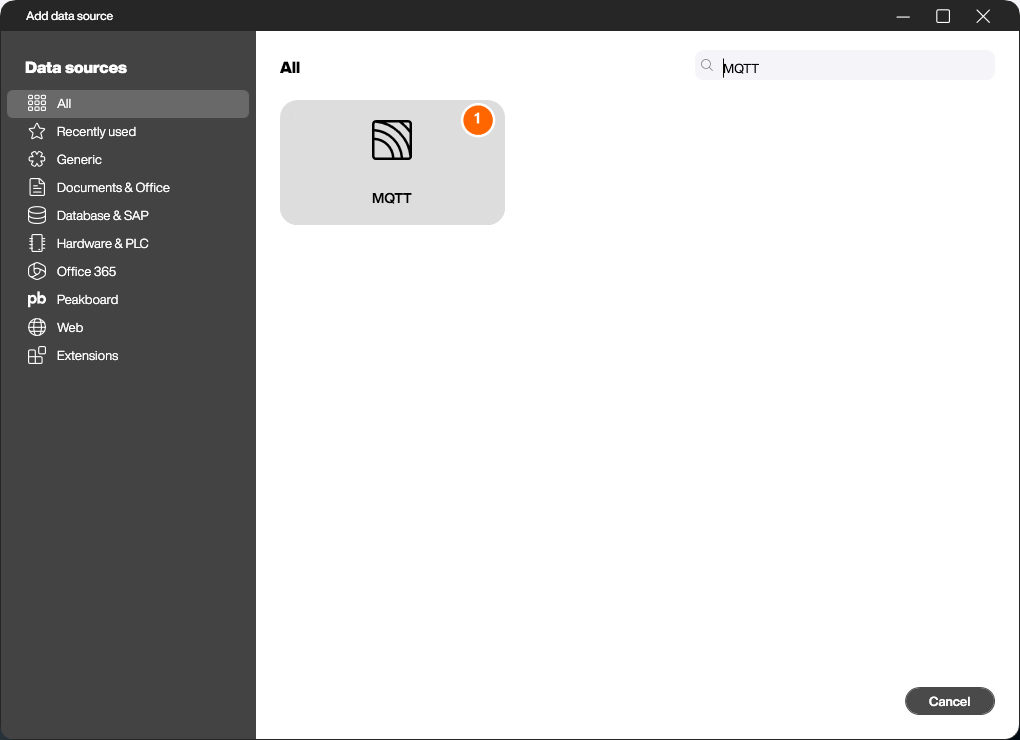
Right-click on [Data] and choose [Add data source]. In the following dialog, select the data source [MQTT] (1).
Configure the connection
In the following dialog give the data source a name (1) in the [General] section. In the [Connection] section enter the server in [MQTT broker] (2). The [MQTT broker port] (3) is optional – the default for unencrypted connections is 1883. If your broker requires authentication, choose the matching method in [Authentication] (4).
The example throughout this article uses the public broker test.mosquitto.org. Mosquitto is a widely used open source MQTT broker. The Eclipse foundation runs a freely accessible test server at this hostname, which is ideal for trying out an MQTT connection without setting up your own infrastructure.
Use the [Add Subscription] button (5) to add one row per topic filter the data source should subscribe to. Click [Enable listener] (6) to start the MQTT Tester, where incoming messages can be observed directly.
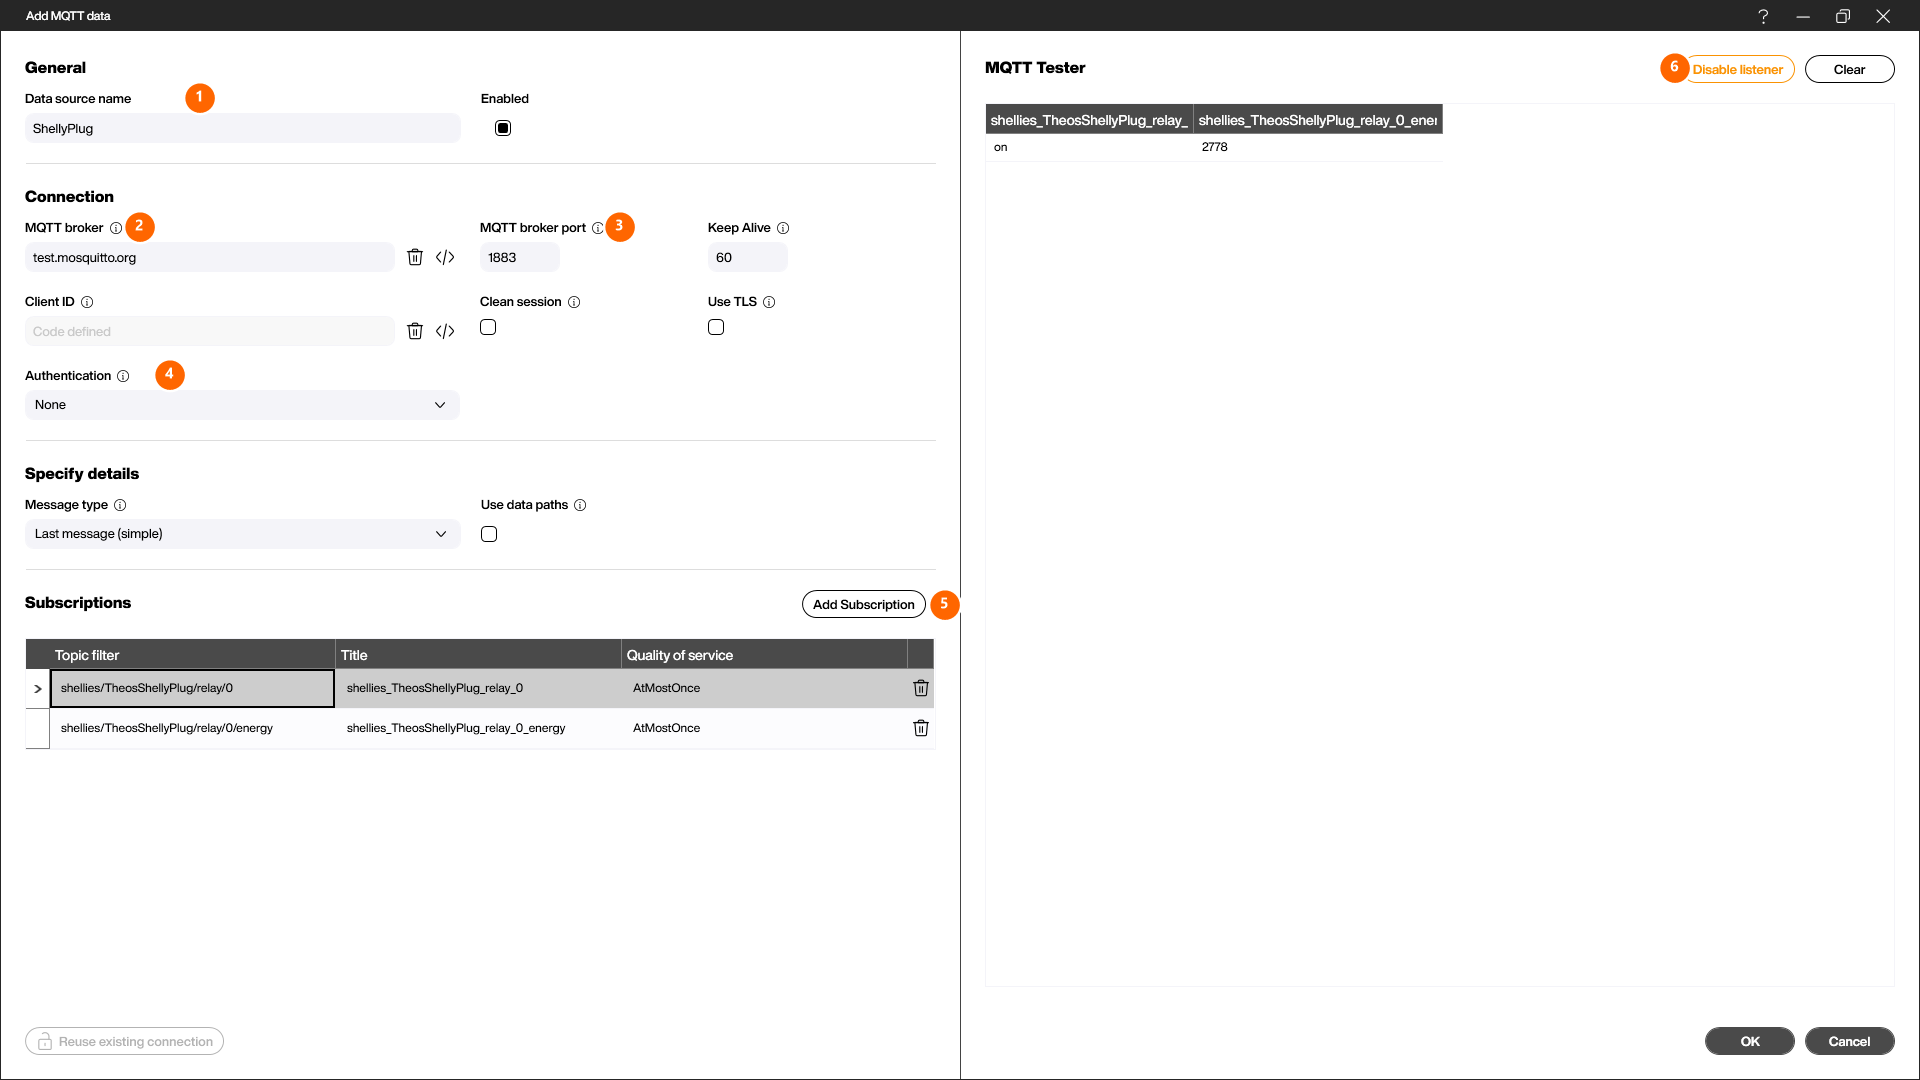
As an example, the screenshot shows an MQTT connection to a Shelly Plug – a smart power socket that publishes its state and energy consumption via MQTT. The two configured topics are:
shellies/TheosShellyPlug/relay/0– current switch state (on/off).shellies/TheosShellyPlug/relay/0/energy– currently consumed energy in watt-minutes.
Quality of Service
Per subscription you set in the [Quality of service] column how a message is transferred between publisher and subscriber. There are three levels:
- AtMostOnce – The message is sent once, and there is no acknowledgement from the recipient.
- AtLeastOnce – The message is sent at least once, and the recipient sends an acknowledgement back. If the acknowledgement is not received, the message is sent again.
- ExactlyOnce – The safest but also slowest QoS level. It ensures that the message is delivered exactly once by using a four-way handshake between sender and receiver.
Choosing the right QoS level depends on the specific requirements of your MQTT application. It is a tradeoff between speed and reliability of message delivery.
Message Type
The [Message type] field (1) defines how Peakboard represents the incoming messages as a table:
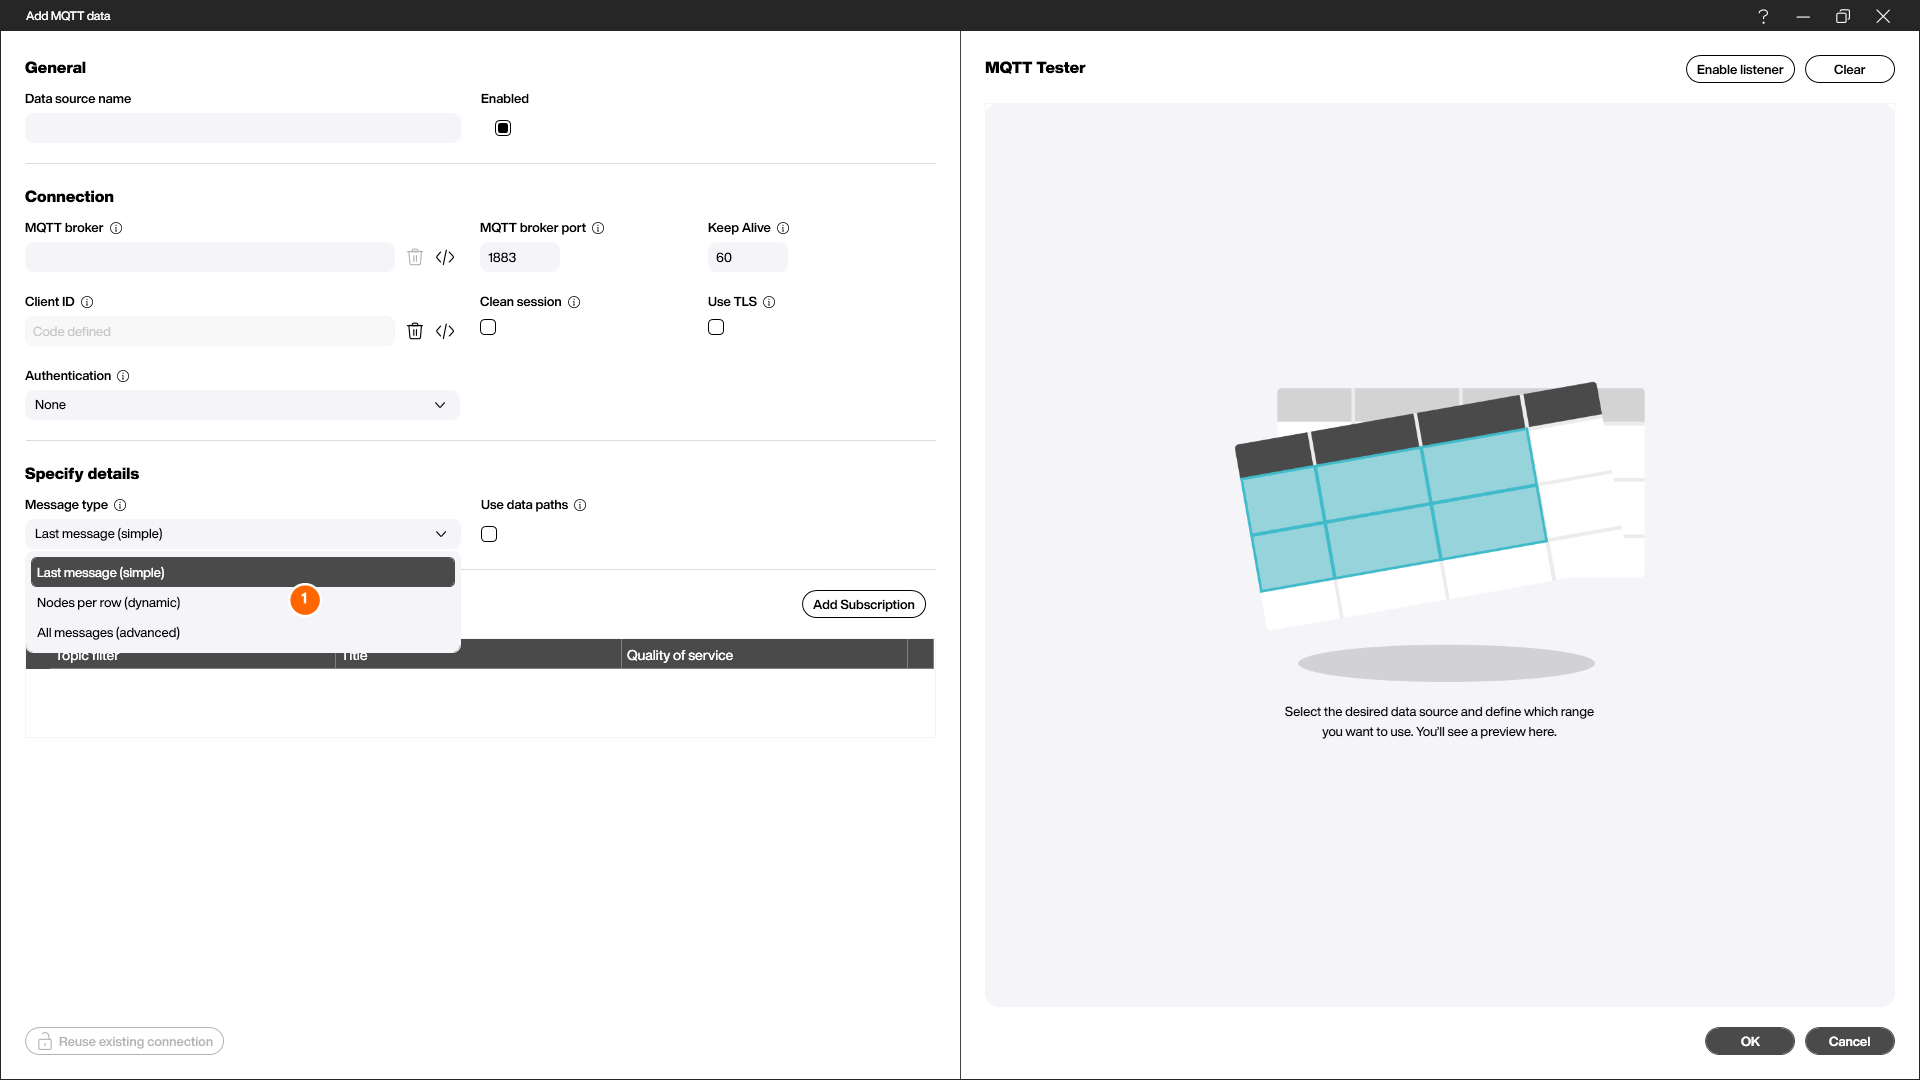
- Last message (simple) – Only the most recent message per subscribed topic is kept. The data source contains exactly one row with one column per subscription. Suited for classic live displays such as sensor readings or switch states.
- Nodes per row (dynamic) – A new row is created per node in the topic path. Useful when topics grow dynamically, for example
shellies/<device-id>/relay/0, and you want to display all devices side by side in one table. - All messages (advanced) – Every received message is added as its own row. This way you get a history of all messages and can, for example, evaluate them over time.
Use data paths
MQTT topics often do not deliver a simple scalar value like on or 2778 but a JSON string with several properties. In that case enable the checkbox [Use data paths] (1) in the [Specify details] section. An additional column [Data path] (2) appears in the subscriptions table, where you specify per subscription the path to the desired value inside the JSON string.
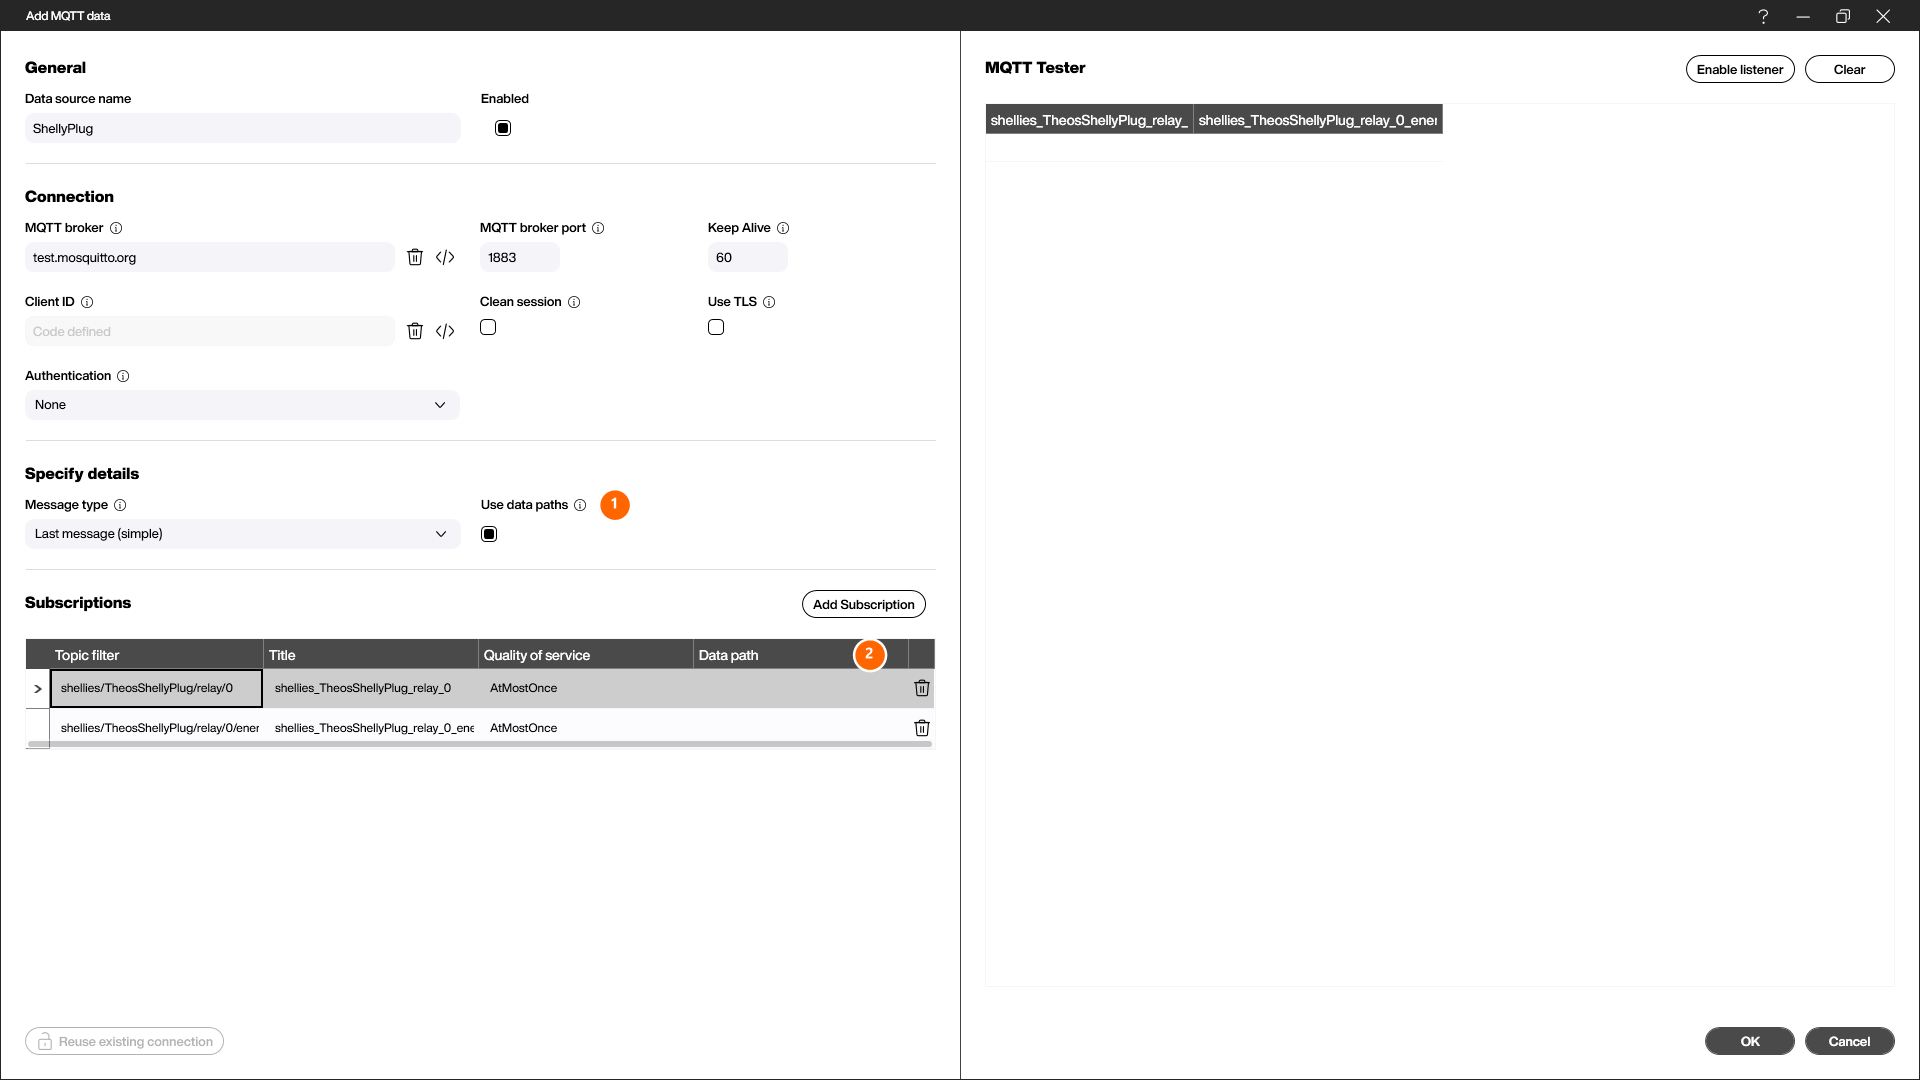
For example, if a topic delivers the message { "power": 23.5, "voltage": 230 }, you enter power as the data path to extract only the value 23.5 from the JSON payload. Without the option, Peakboard would store the full JSON text as a single string in the data source.