Controls
Checkbox
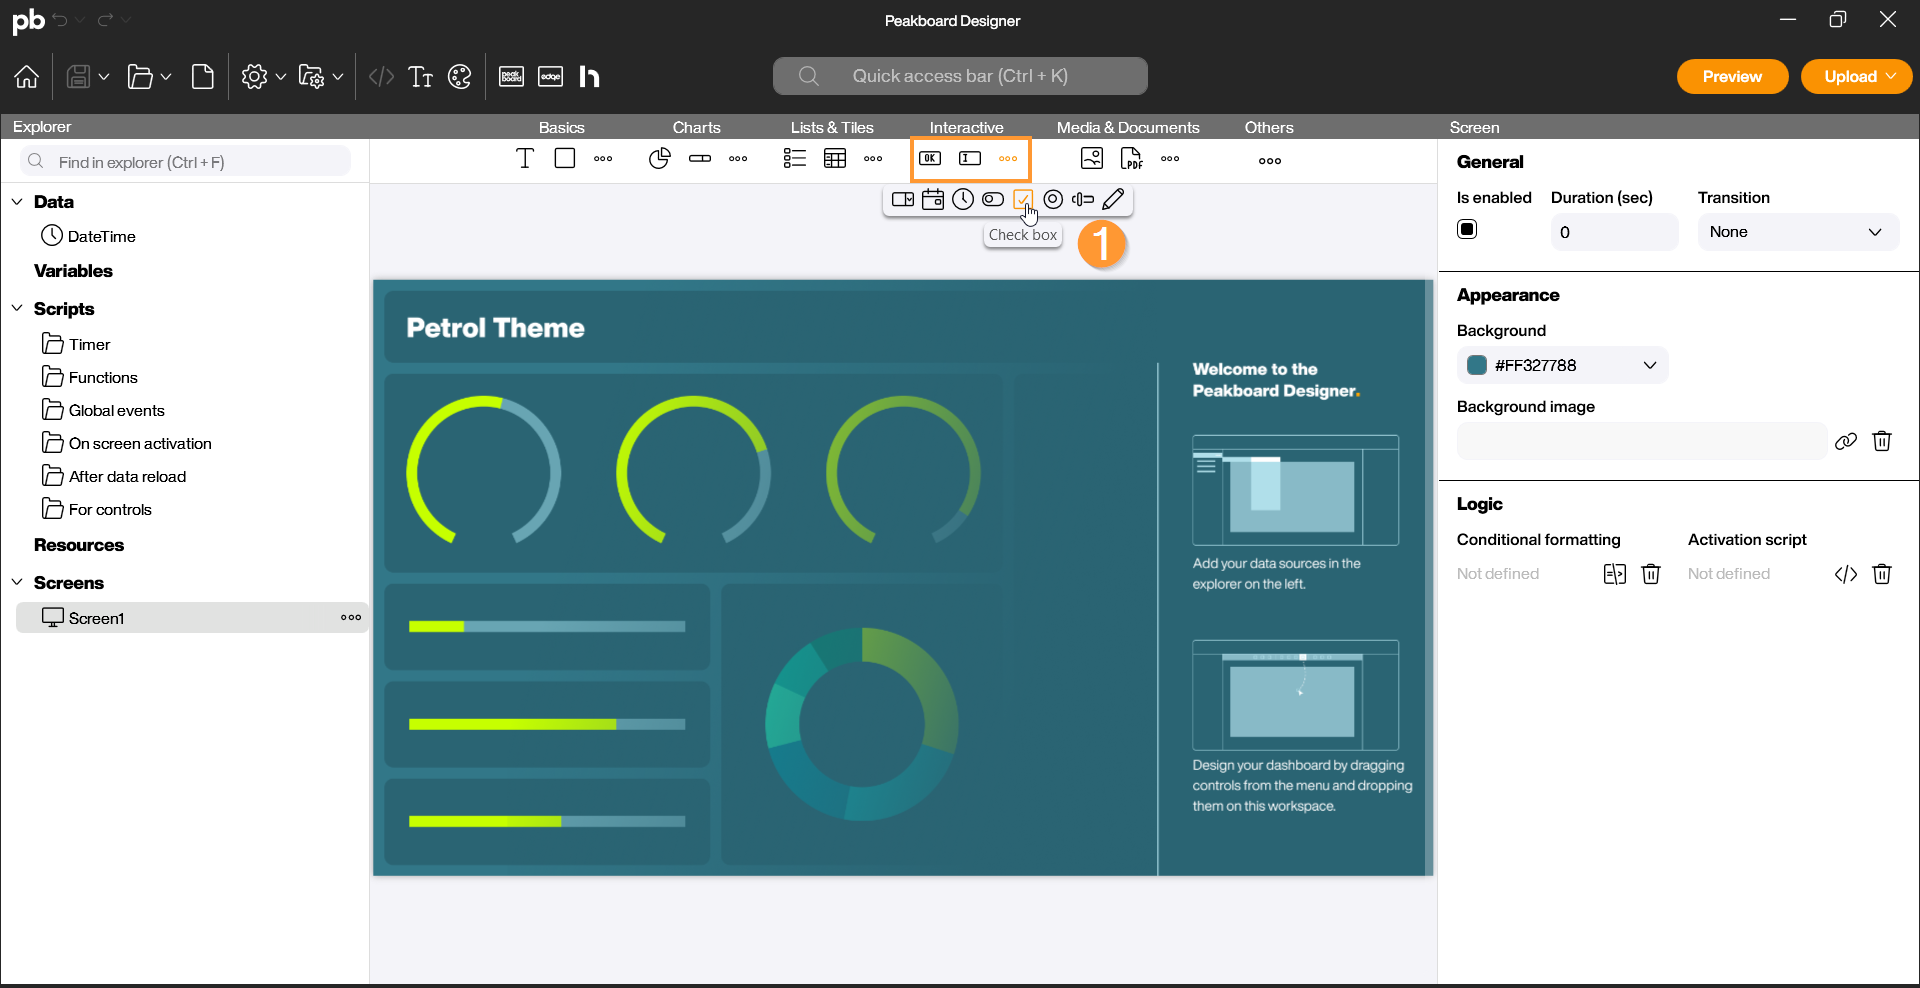
With the Checkbox control, you can map simple yes/no decisions or multiple selections in your visualization. The checkbox is used to confirm conditions or to filter data in a list. You can find the Checkbox in the Peakboard Designer in the Interactive group (1). Simply drag and drop the icon onto your workspace.
Configuration and Properties
1 General and Data Binding
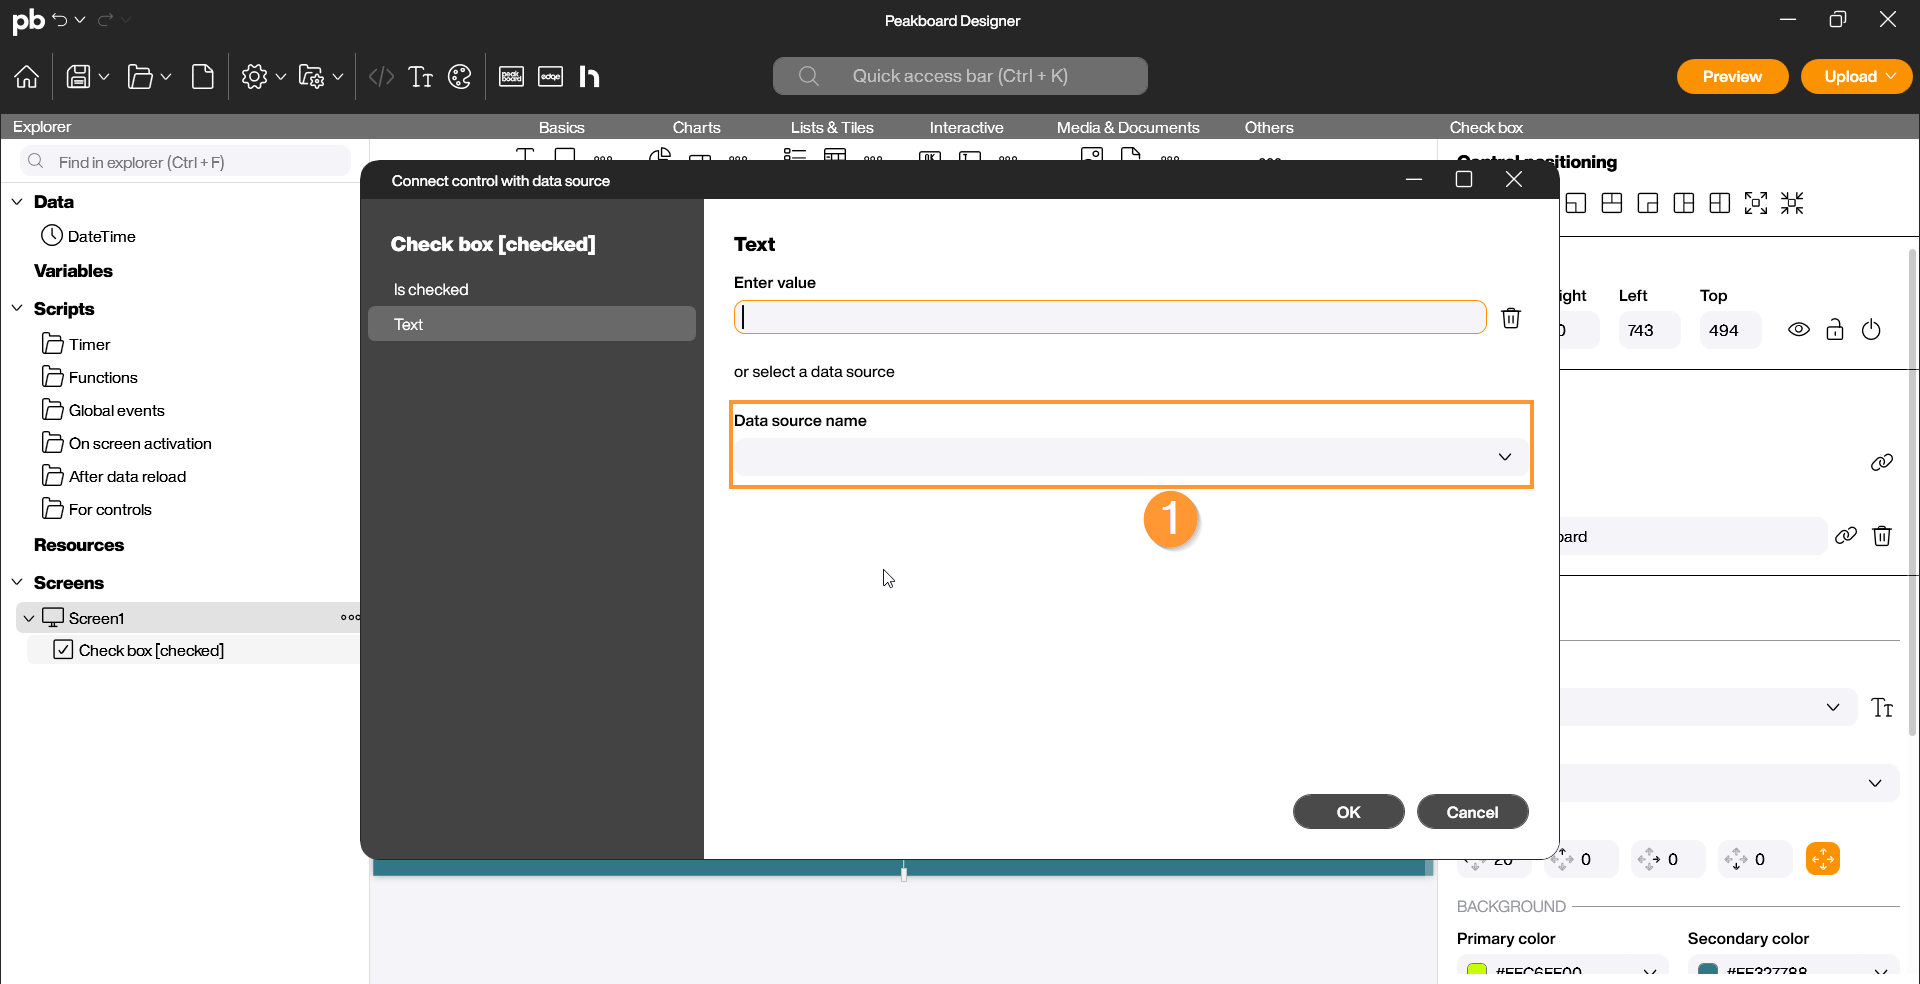
In this section, you define the basic functionality:
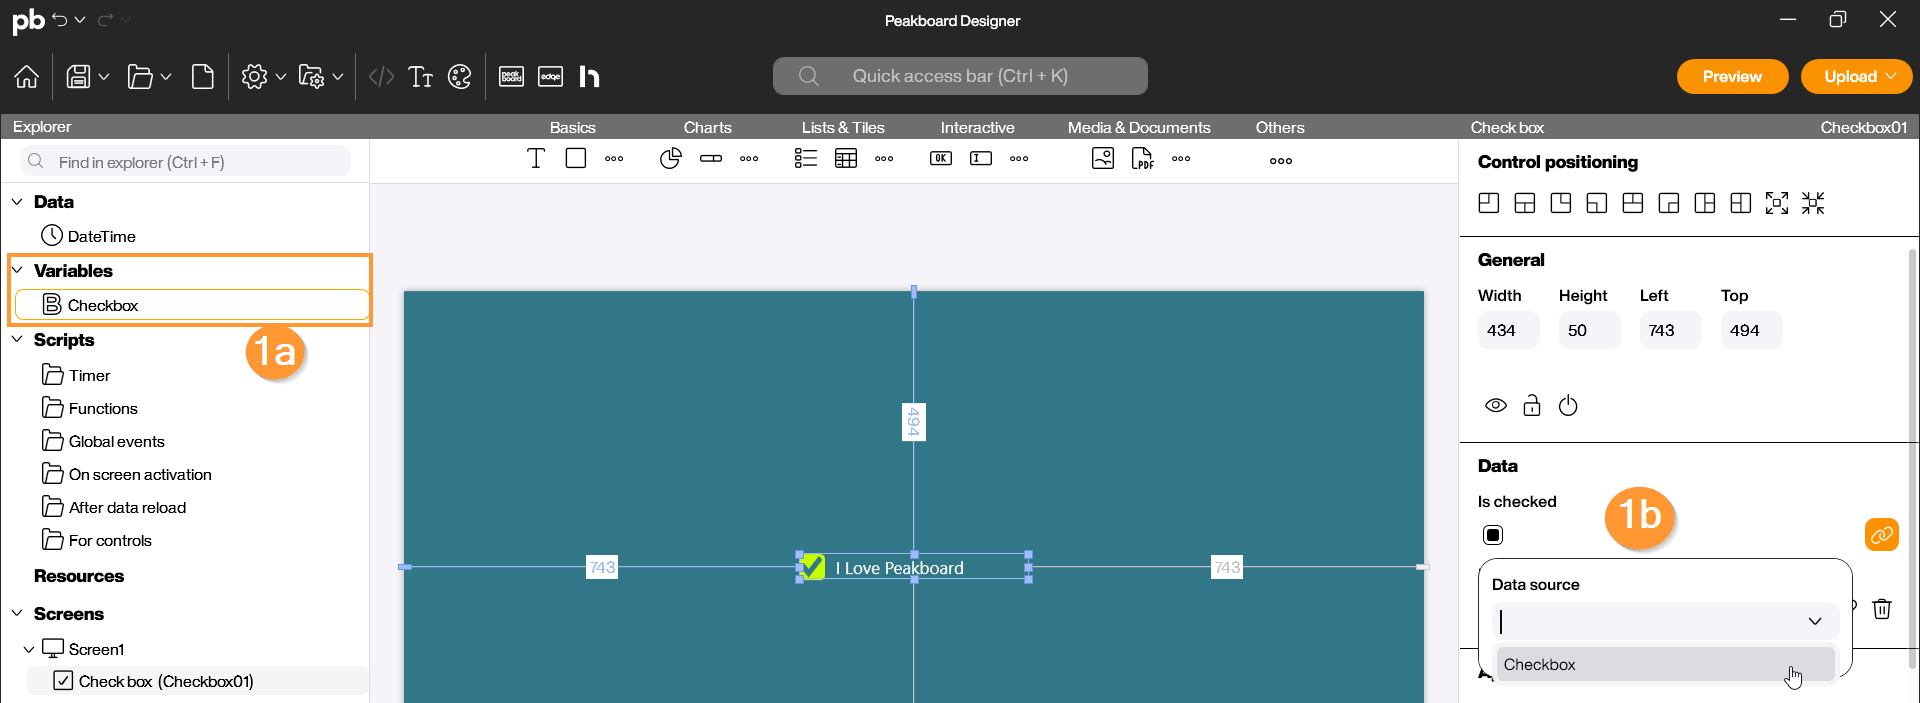
- Data Source: This is where you perform the data linking (1). You can bind the checkbox directly to a variable of type Boolean. When a user activates or deactivates the checkbox, the status (true or false) is immediately written back to the linked variable.
2 Appearance and Labeling
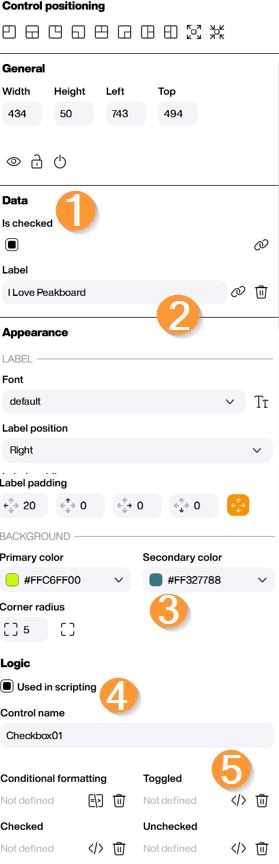
Once you have selected the checkbox in the Designer, you can make all specific settings in the properties on the right side. Among other things, you can design the visual look here:
- Initial State (Data): You can determine whether the checkbox should be activated or deactivated by default when the visualization starts. Here, you link the checkbox to a variable (1).
- Label (Data): Here you can store the text that should be displayed next to the checkbox (e.g., “I accept the terms and conditions”) (2).
- Font & Color (Appearance): Customize the font and color of the label, as well as the color of the checkmark and the frame, to match your dashboard design (3).
- Use in scripts (Logic): Give the control a unique name (4) so that you can easily identify it later in scripting (5).
Scripting
The checkbox gives you the ability to react directly to state changes with logic. In the properties under the Logic tab, you will find three specific events:
- Checked Event: This script is executed as soon as the box is checked.
- Unchecked Event: This script is executed when the checkmark is removed.
- Toggled: This script is executed as soon as the state of the box changes.
Example: Check output status in the log
If you want to check whether an input has been made, you can solve this in scripting using Building Blocks. To do this, link the checkbox (1b) with the fixed Boolean variable (1a).
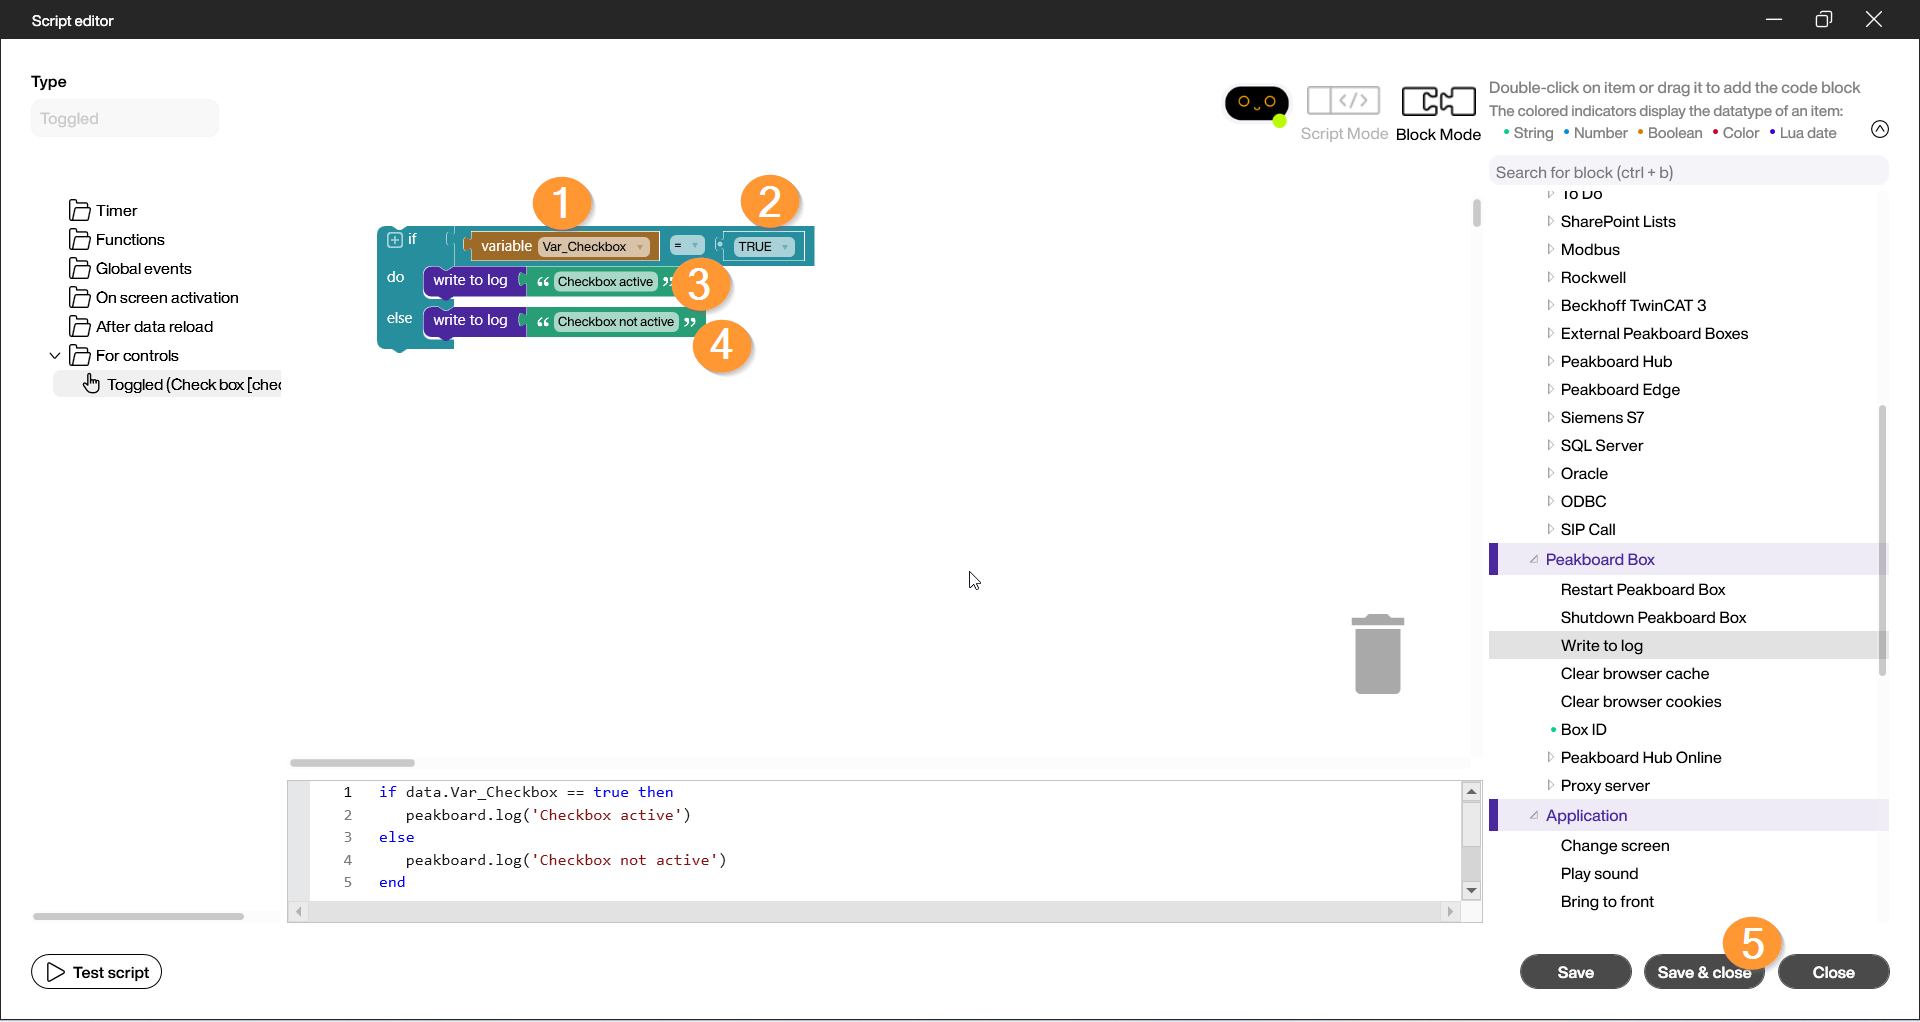
- In the Designer, open the script editor on the lower right side under Logic and “Toggled”. Under the block category Basics and Logic, select the “If-Then” block code with a double-click or drag it onto the editor surface.
- Select the “Get variable” block code under the Variables category and place it in the first empty field in the If-Then block (1). Check if the correct variable is active.
- Scroll down to Logic and select Boolean. Drag it to the adjacent field in the If-Then block (2). In case the variable is not activated and the switch is inactive, select “False”. Under the Functions and Peakboard Box category, select the “Write to log” block code and place it in the next line in the If-Then block (3). Enter “Checkbox activated” or something similar in the green text field. Now you can repeat the last step and select the block code again, or right-click on the “Write to log” code and select Duplicate.
- Place this block code at the level of “else” and edit the content of this block code to “Checkbox not activated” (4).
- Save the script by clicking “Save and Close” (5).
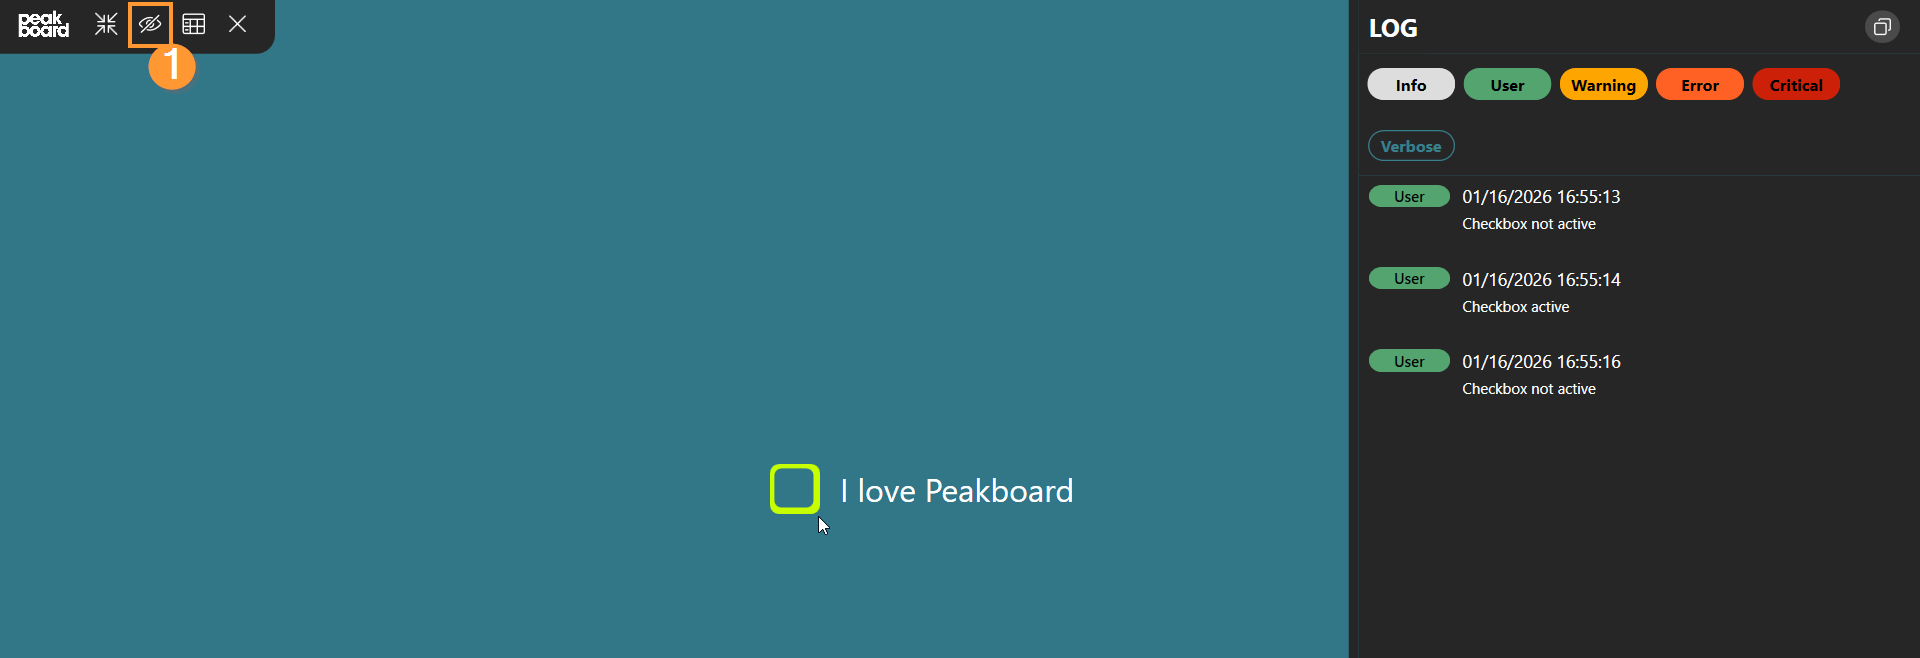
Start the preview and check the Log (1) to see if the return value is correctly returned depending on the status of the toggle switch. Click the switch to interact:
In this video, it is once again illustrated how the script for this example is built and tested for successful functionality: