Peakboard hub
Add lists
In the Peakboard Hub, you can create lists that you can use in the Peakboard Designer. These lists offer you the possibility to change and store data centrally for all Peakboard Boxes.
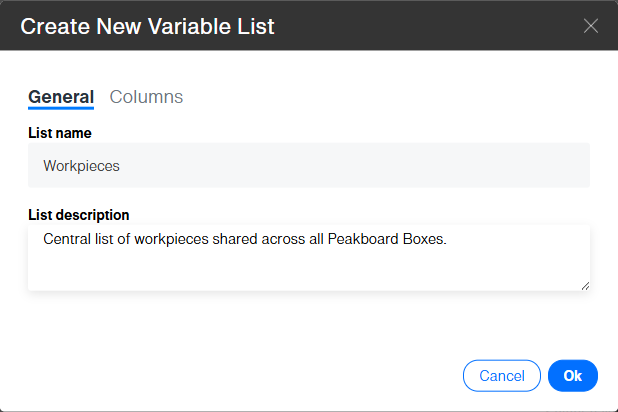
Create list
Navigate to the [Lists] section in the left sidebar and click the [Add] button. On the [General] tab, enter a descriptive name in the [List name] field (e.g. “Workpieces”) and, optionally, a description.
Configure columns
Switch to the [Columns] tab to define the columns of the list.
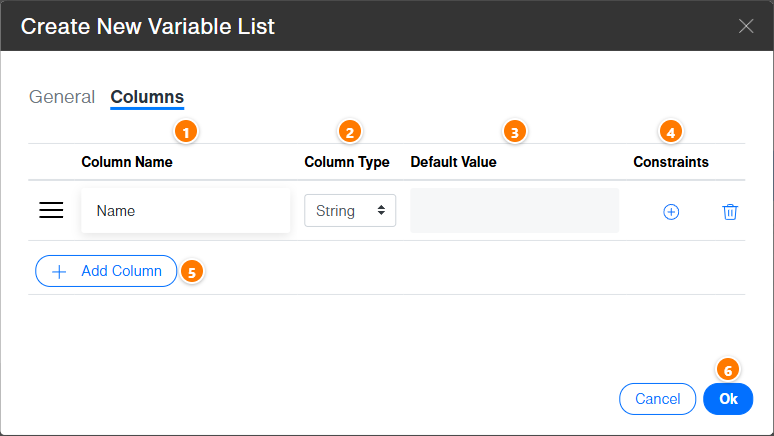
- Enter column name (1): Enter the desired name in the [Column Name] field.
- Select data type (2): Choose the column type from the [Column Type] dropdown: String (text entries such as names or descriptions), Boolean (Yes/No or True/False values) or Number (numeric values such as quantities or prices).
- Set default value (3, optional): Enter a value in the [Default Value] field.
- Define constraints (4, optional): Use [Constraints] to set value restrictions (available for String and Number columns).
- Add more columns (5): Click [Add Column] for additional columns.
- Save (6): Click [Ok] to create the list.
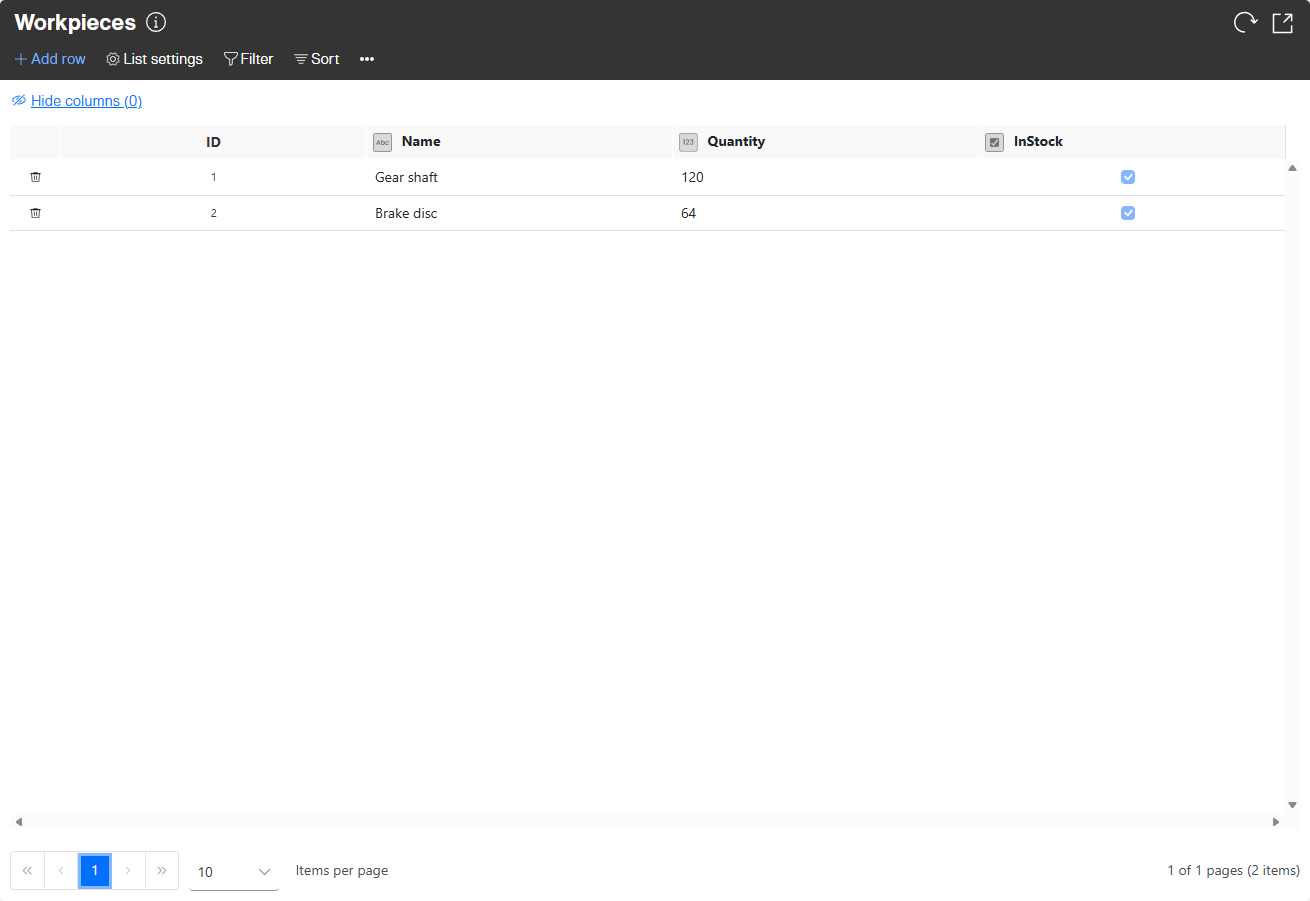
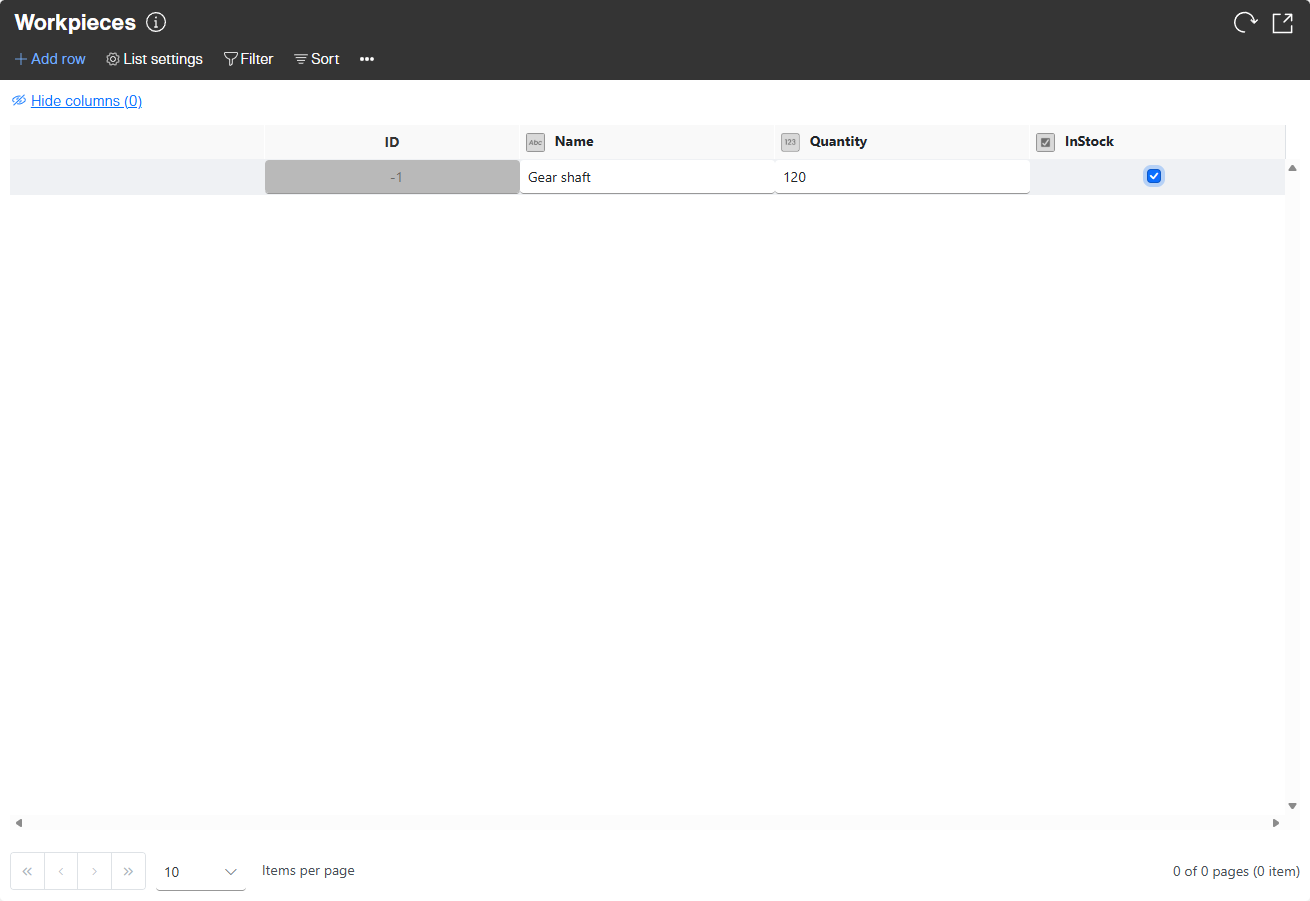
Enter data
- Click [Add row] to insert a new row.
- Enter the data in the corresponding fields matching the defined columns and confirm the row with the Enter key.
The list is now created and populated and is available to all connected Peakboard Boxes for use in the Peakboard Designer.