Controls
Dropdown list
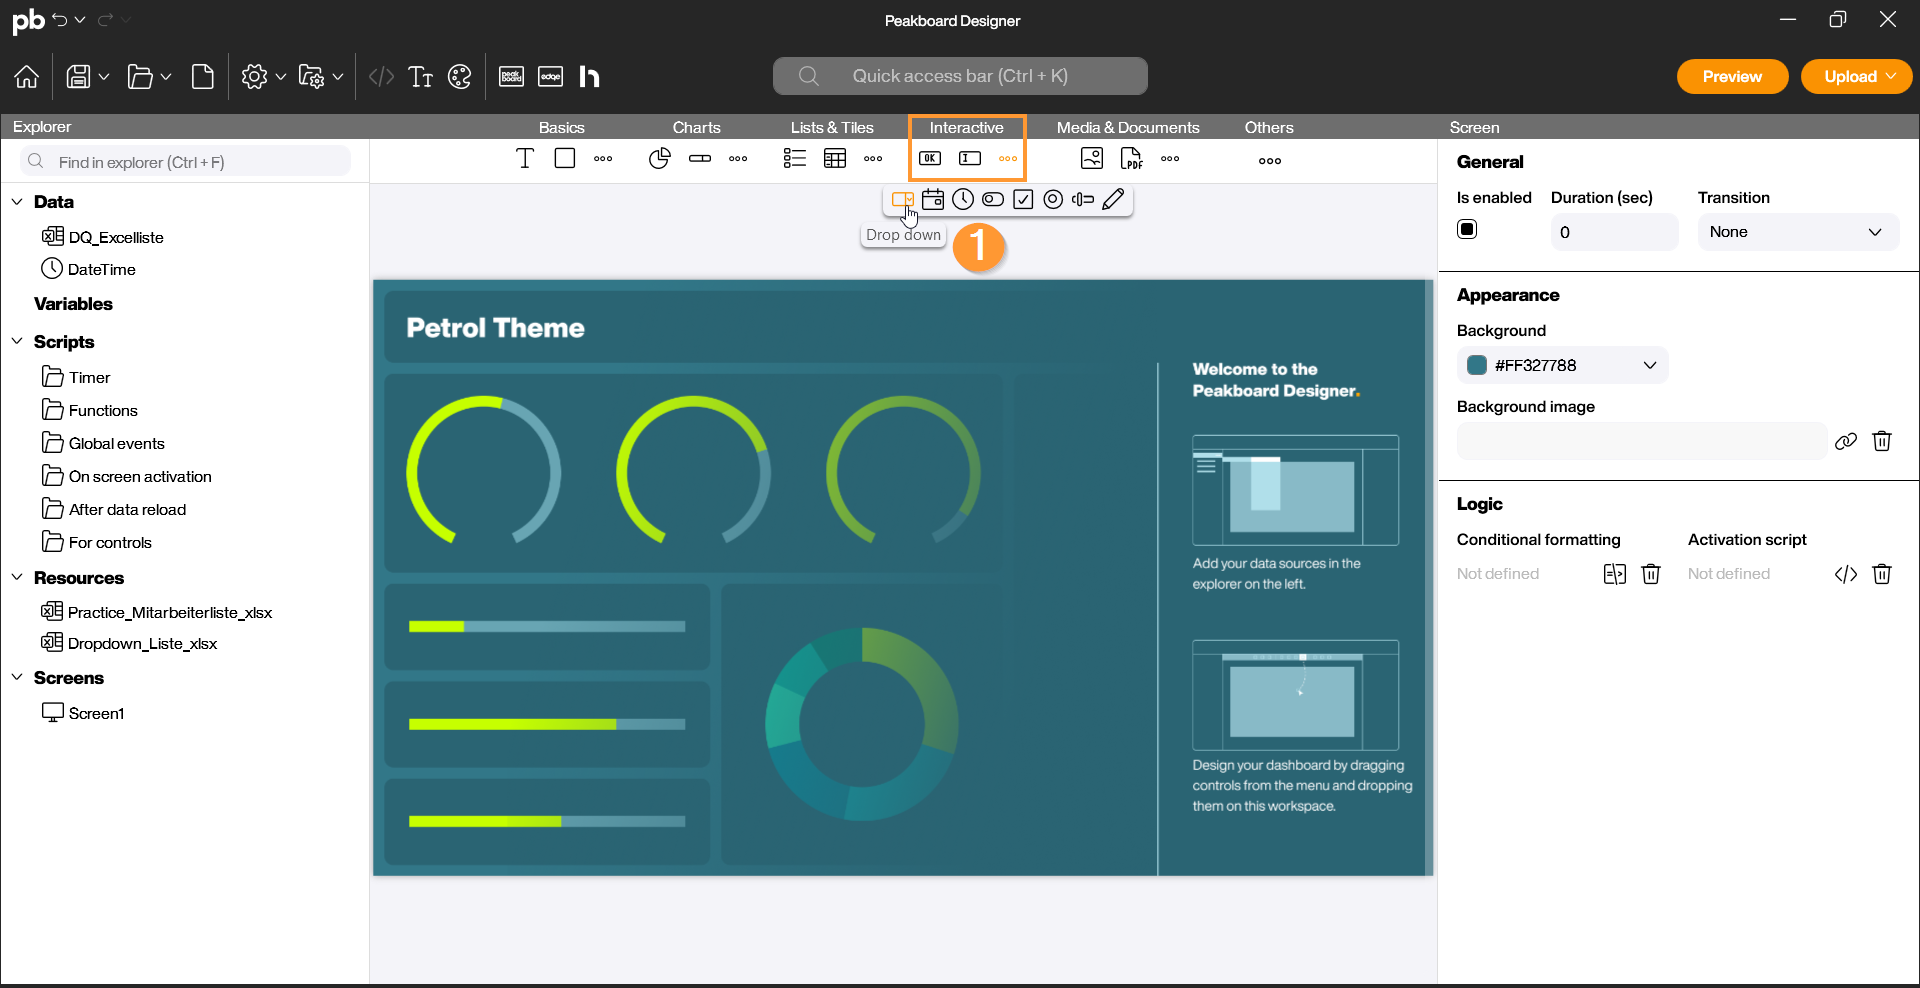
The Dropdown list is an interactive control that allows the user to select a single value from a list of options. It is particularly well-suited for long lists (e.g., location selection, machine numbers, names, or time periods) that would take up too much space with other controls.
You can find the Dropdown List in the Peakboard Designer in the Interactive group (1). Simply drag and drop the control onto your workspace or double-click the icon.
Configuration and Properties
1 General and Data Binding
The Dropdown List requires a data source to display its options. To do this, add a data source in the Designer Explorer on the left side—for example, an Excel list with names.
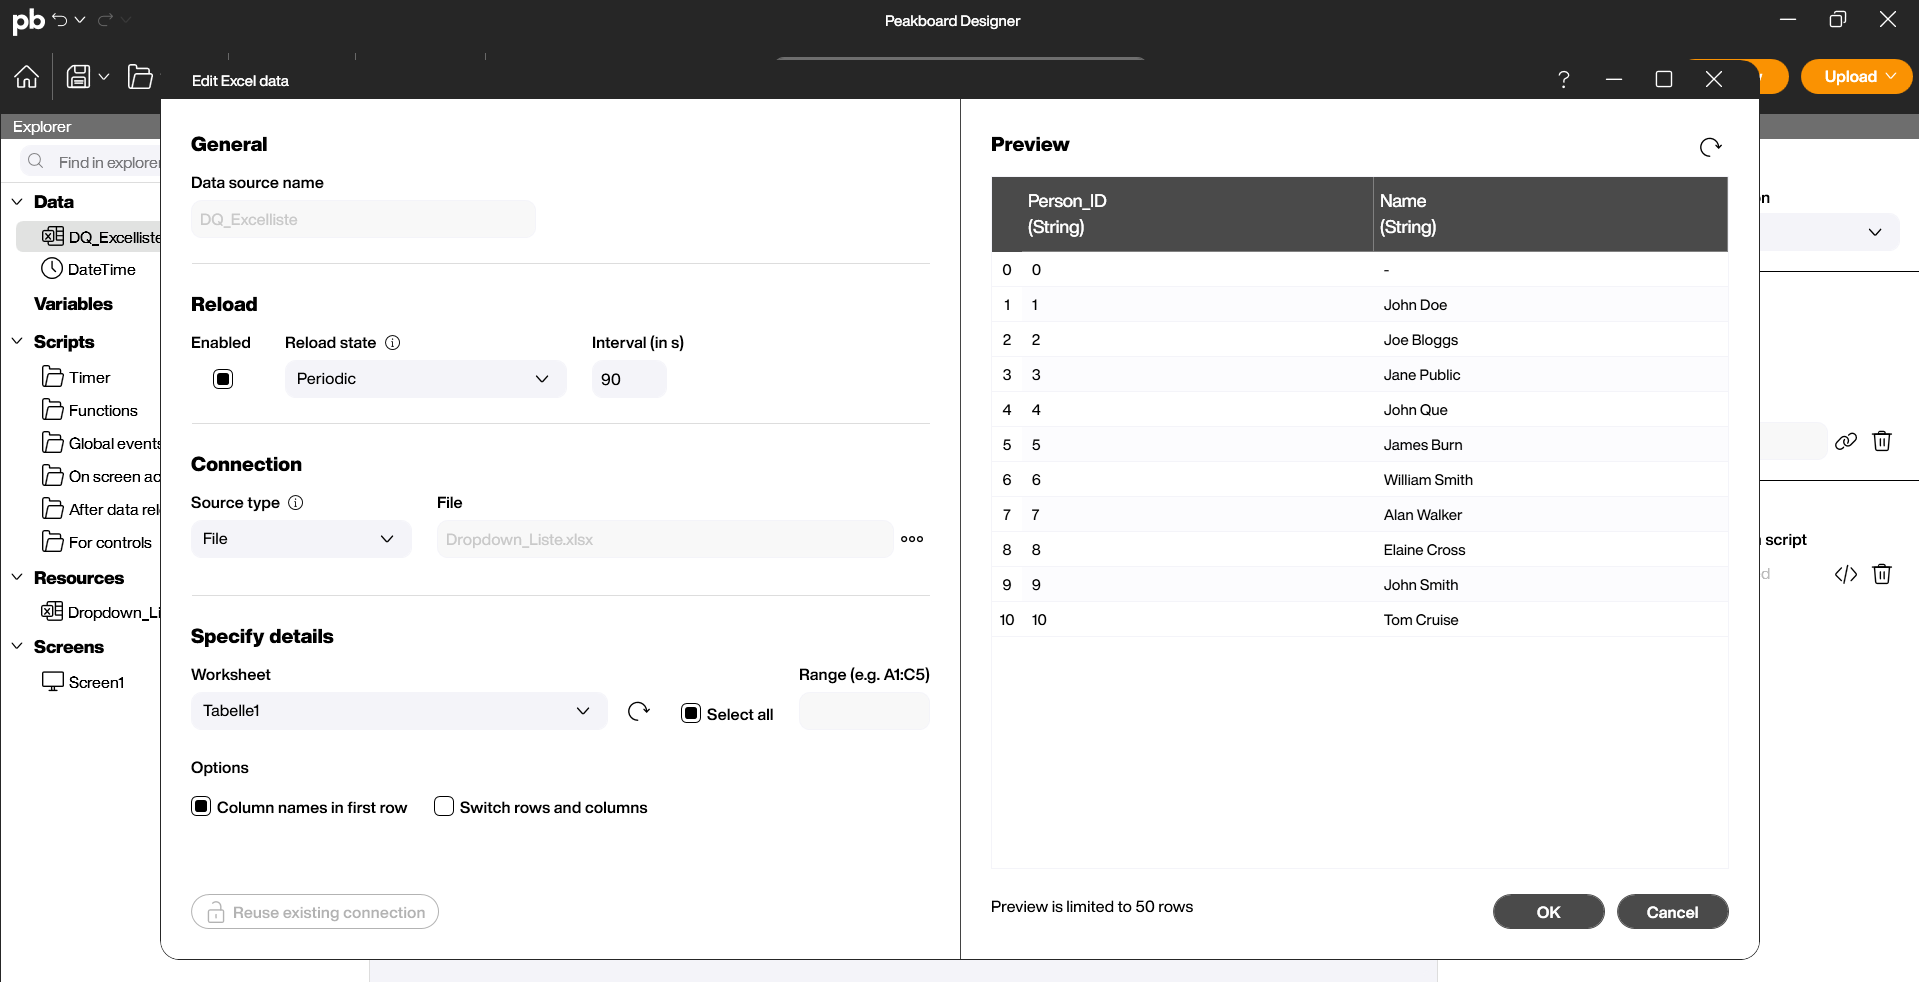
You can link this either by double-clicking the control, which opens a window displaying the same content on the left side (1) as in the properties on the right side (2).
- Data Source (3): Link the list or table containing all the selection options here (e.g., an Excel table, a SQL query, or a static list). Select the column to be displayed from the file.
- Data / Value (4): Select the row whose text the user should see in the list.

In the chosen example file, the first row of the selected column is now displayed. If you want to adjust the displayed value, click on “Data / Value” and pick the value to be shown (1).

The Dropdown List primarily reacts to a change in selection. Once you have given the control a unique name for use in scripts, you can utilize it in the script editor. Under the Logic tab in the properties, you will find the event:
Scripting
Example: Output selected value in the log
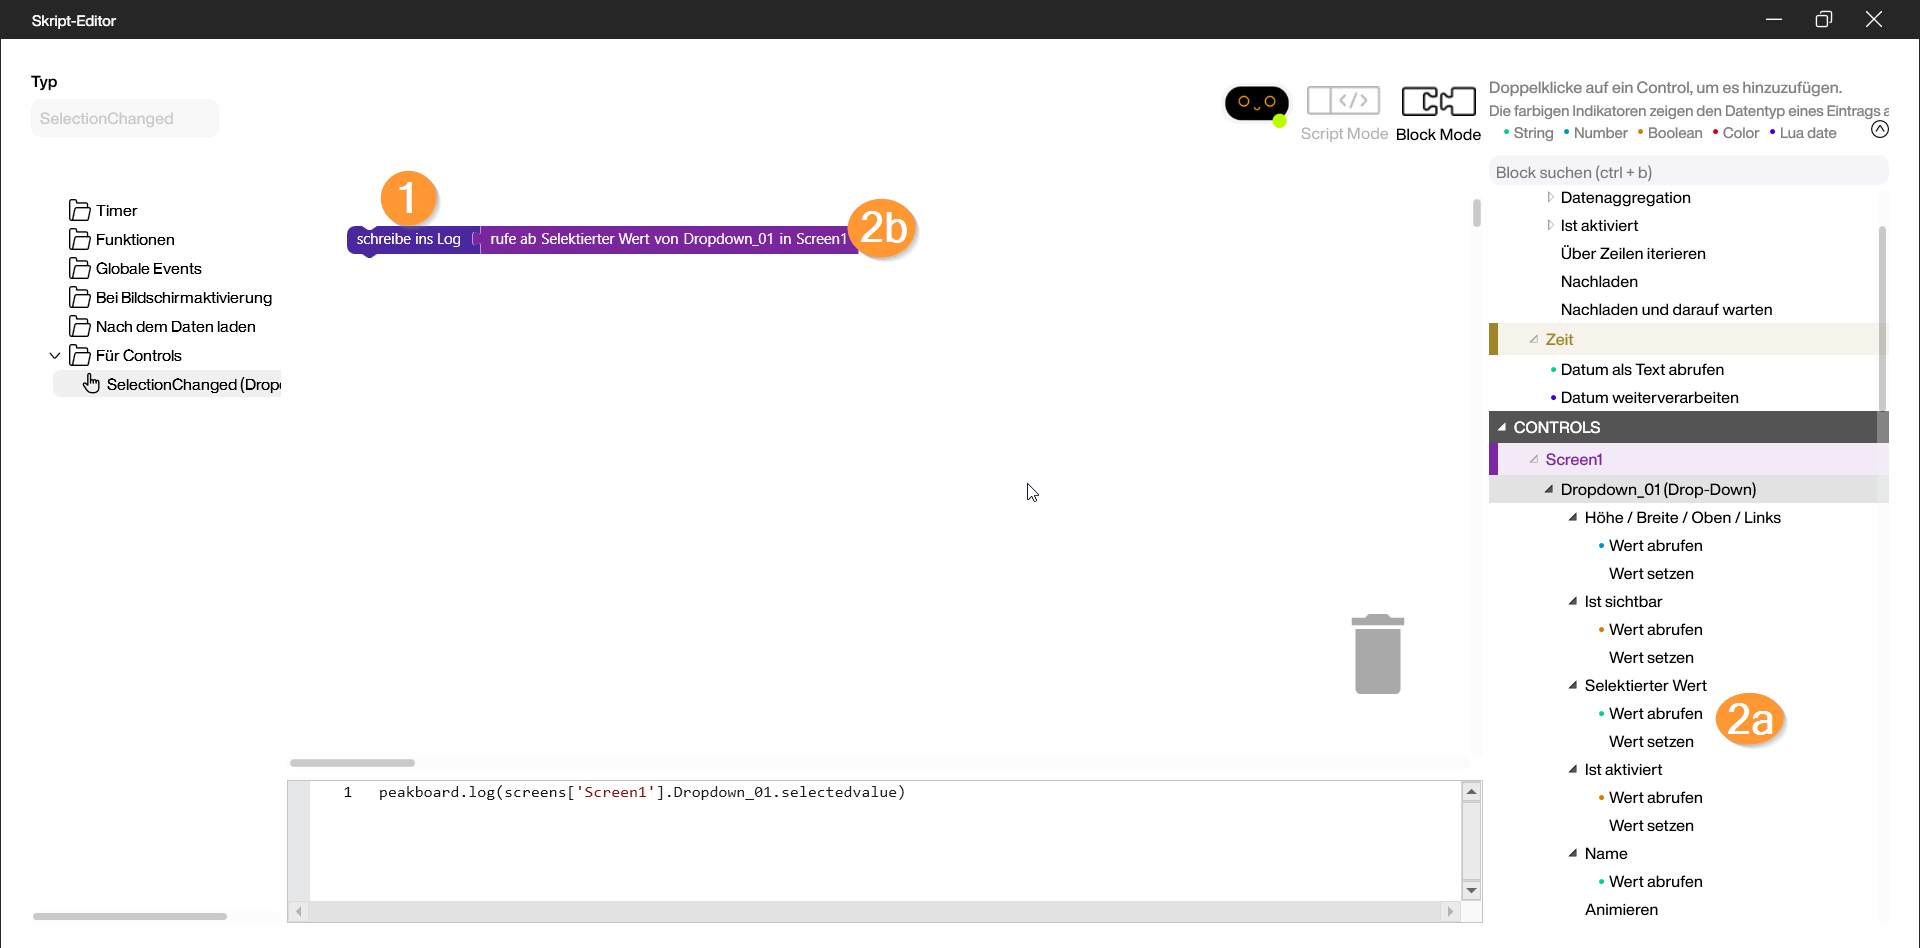
Often, you want to use the selected value to filter other data sources. In this example, we will write the selected name to the log. Steps in the Script Editor:
-
Open the script editor under Selection Changed “< >”. - Under “Functions” and “Peakboard Box”, select the “Write to log” block (1).
- To retrieve the currently selected value, go to “Controls” and the screen where the control is used. Select the name you assigned to the Dropdown control and, under “Selected Value”, choose the “Get value” block (2a).
- Combine the “Write to log” block with the block from the controls (2b).
- Save the script by clicking “Save and Close”.
Start the preview and check the Log (1) to see if the return value is correctly displayed depending on the selected content of the dropdown. Select different entries to expand the log.

In this video, it is once again illustrated how the script for this example is built and tested for successful functionality:
