Data sources
Date and Time
In the Peakboard Designer, date and time are available as a dedicated data source. The data source is not tabular, but a scalar single value whose format and time zone you control yourself.
Built-in DateTime data source
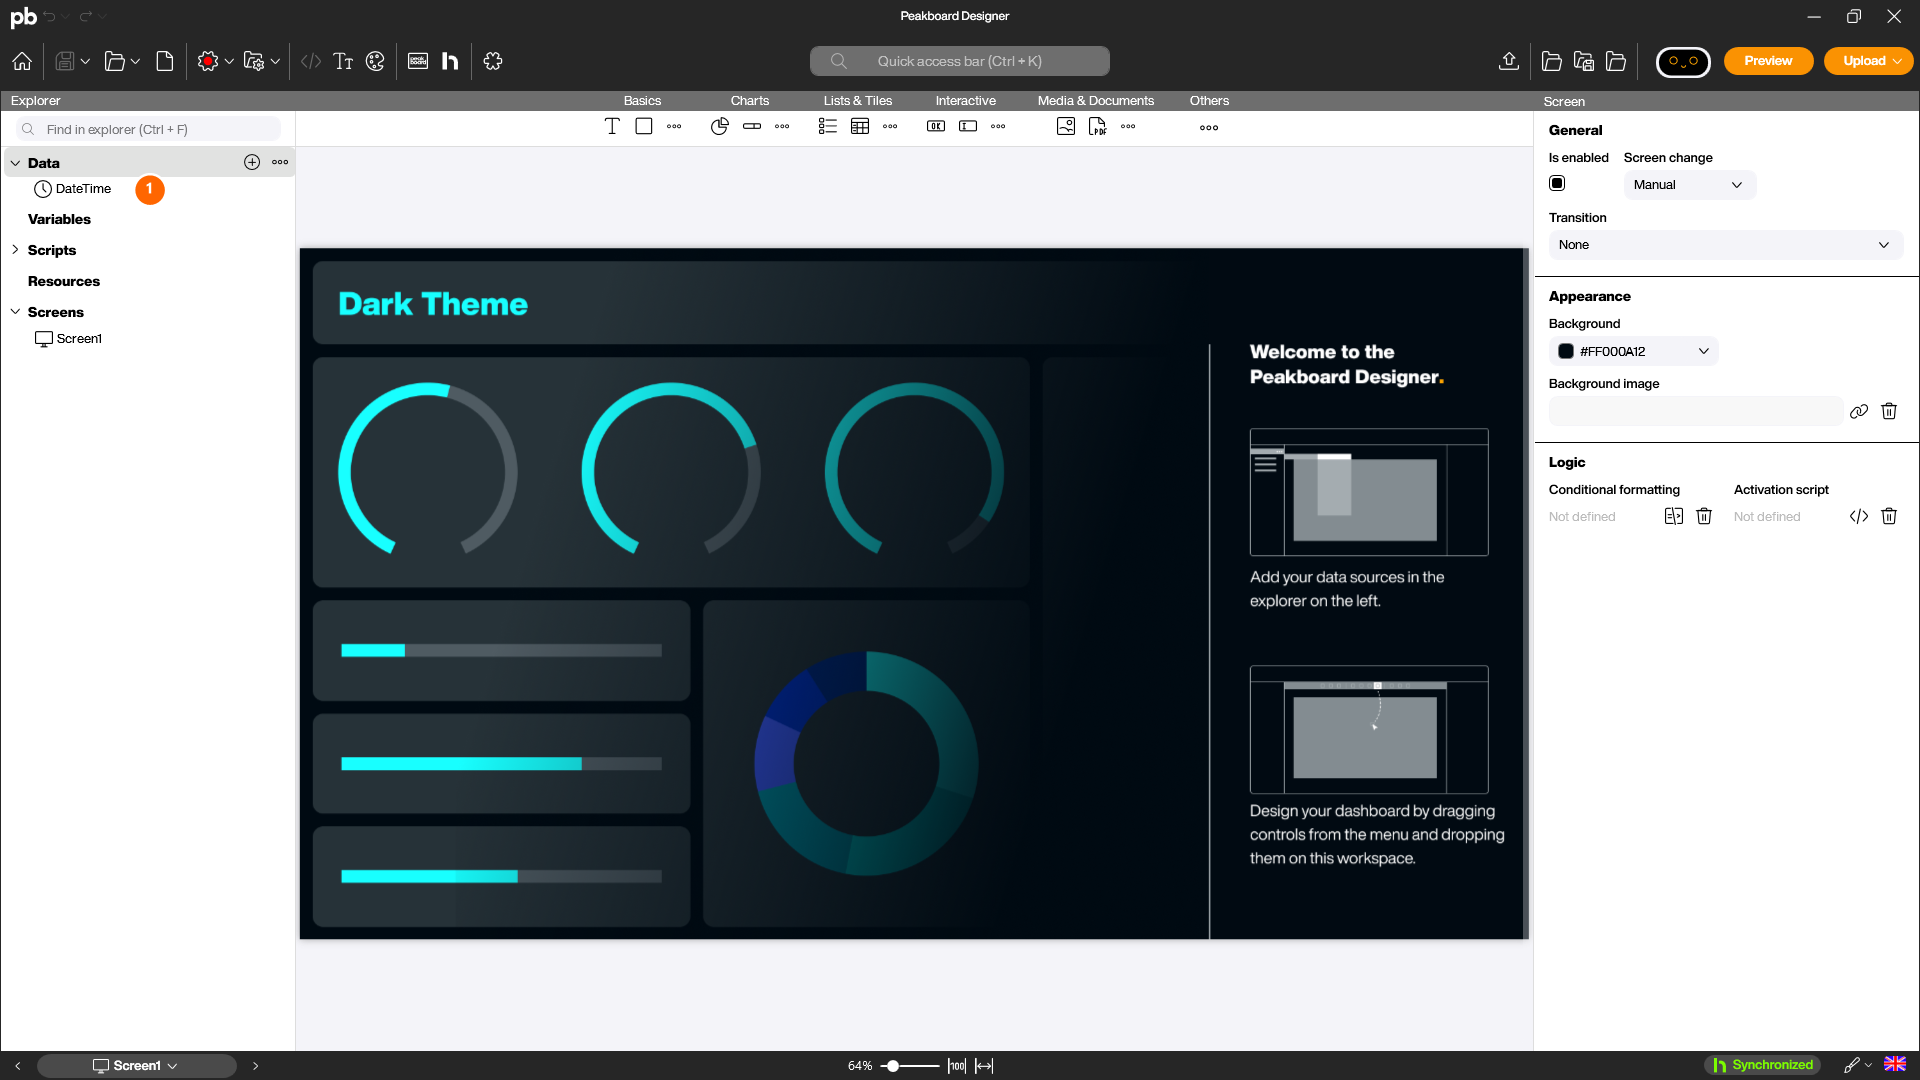
Every new Peakboard project already contains a [DateTime] data source (1) under the [Data] node in the explorer. You do not have to create your own data source if you only need the current time or date – you can drag this data source directly onto the screen or reference it from a script.
You can add further time data sources if needed – for example to use a different format, a different time zone or a time offset (such as “8 hours ago”) in parallel. For most use cases, however, the existing built-in data source is enough.
Add an additional time data source
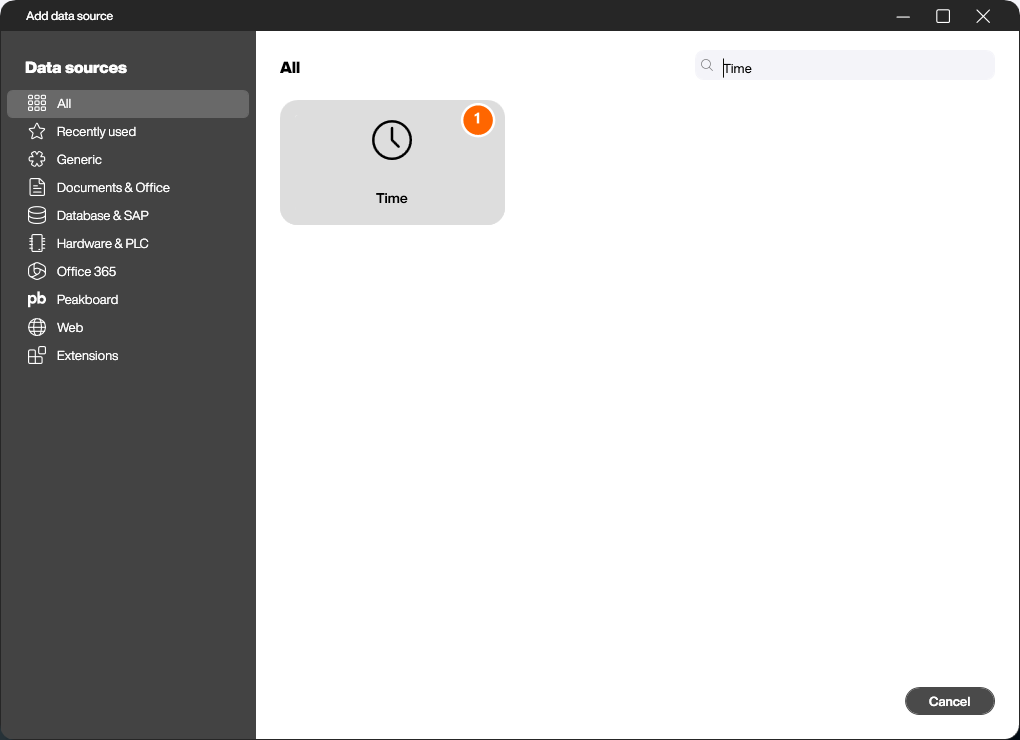
To add an additional time data source, right-click on [Data] and choose [Add data source]. In the following dialog, select the data source [Time] (1).
Configure the data source
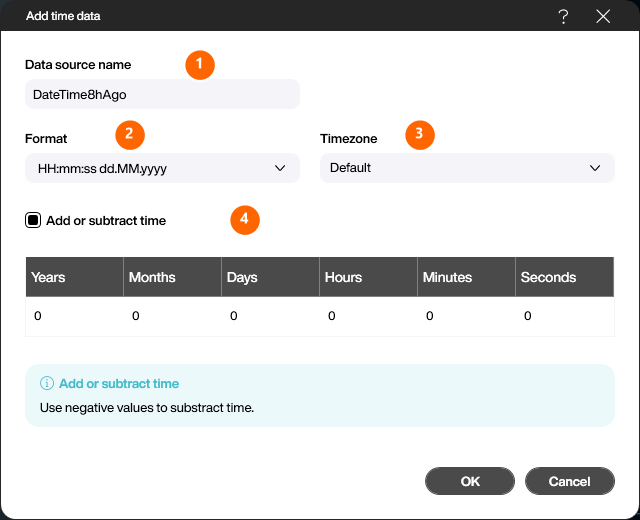
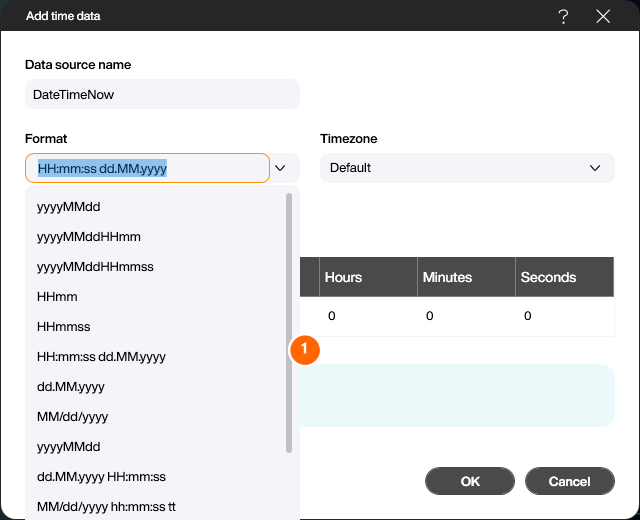
In the [Add time data] dialog give the data source a name (1). The [Format] field (2) defines how date and time are displayed – you can either pick one of the predefined formats or enter your own format. In the [Timezone] field (3) you select the desired time zone if you want to use a different one than the system default.
The checkbox [Add or subtract time] (4) enables the time offset. In the grid below you enter years, months, days, hours, minutes or seconds per column. Negative values shift the value into the past – Hours = -8 for example always returns the timestamp from 8 hours ago.
Choose a format
The [Format] combo box provides the common date and time formats (1). You can also enter a custom format string composed from the placeholders listed below.
Placeholder for the format string:
HH: hour (00 - 24)
hh: hour (00 - 12)
mm: minute
ss: second
dd: day
MM: Month (number) e.g. 11
MMMM: month (text) e.g. November
yy: two-digit year e.g. 89
yyyy: four-digit year e.g. 1989
tt: AM/PM identifier
With a click on [OK] the additional time data source is created. Just like the built-in data source it then appears in the explorer under [Data] and can be dragged onto controls or used from scripts like any other data source.
Time server Peakboard Box
When adding a Peakboard Box to the Peakboard Designer for the first time, you will be asked to enter a time server. Among other things, this time server is responsible for the validation process of the certificates on the Peakboard Box.
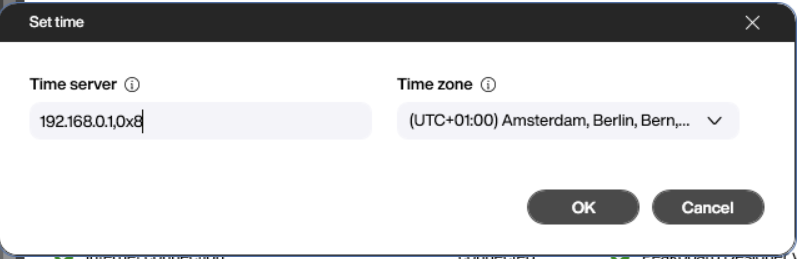
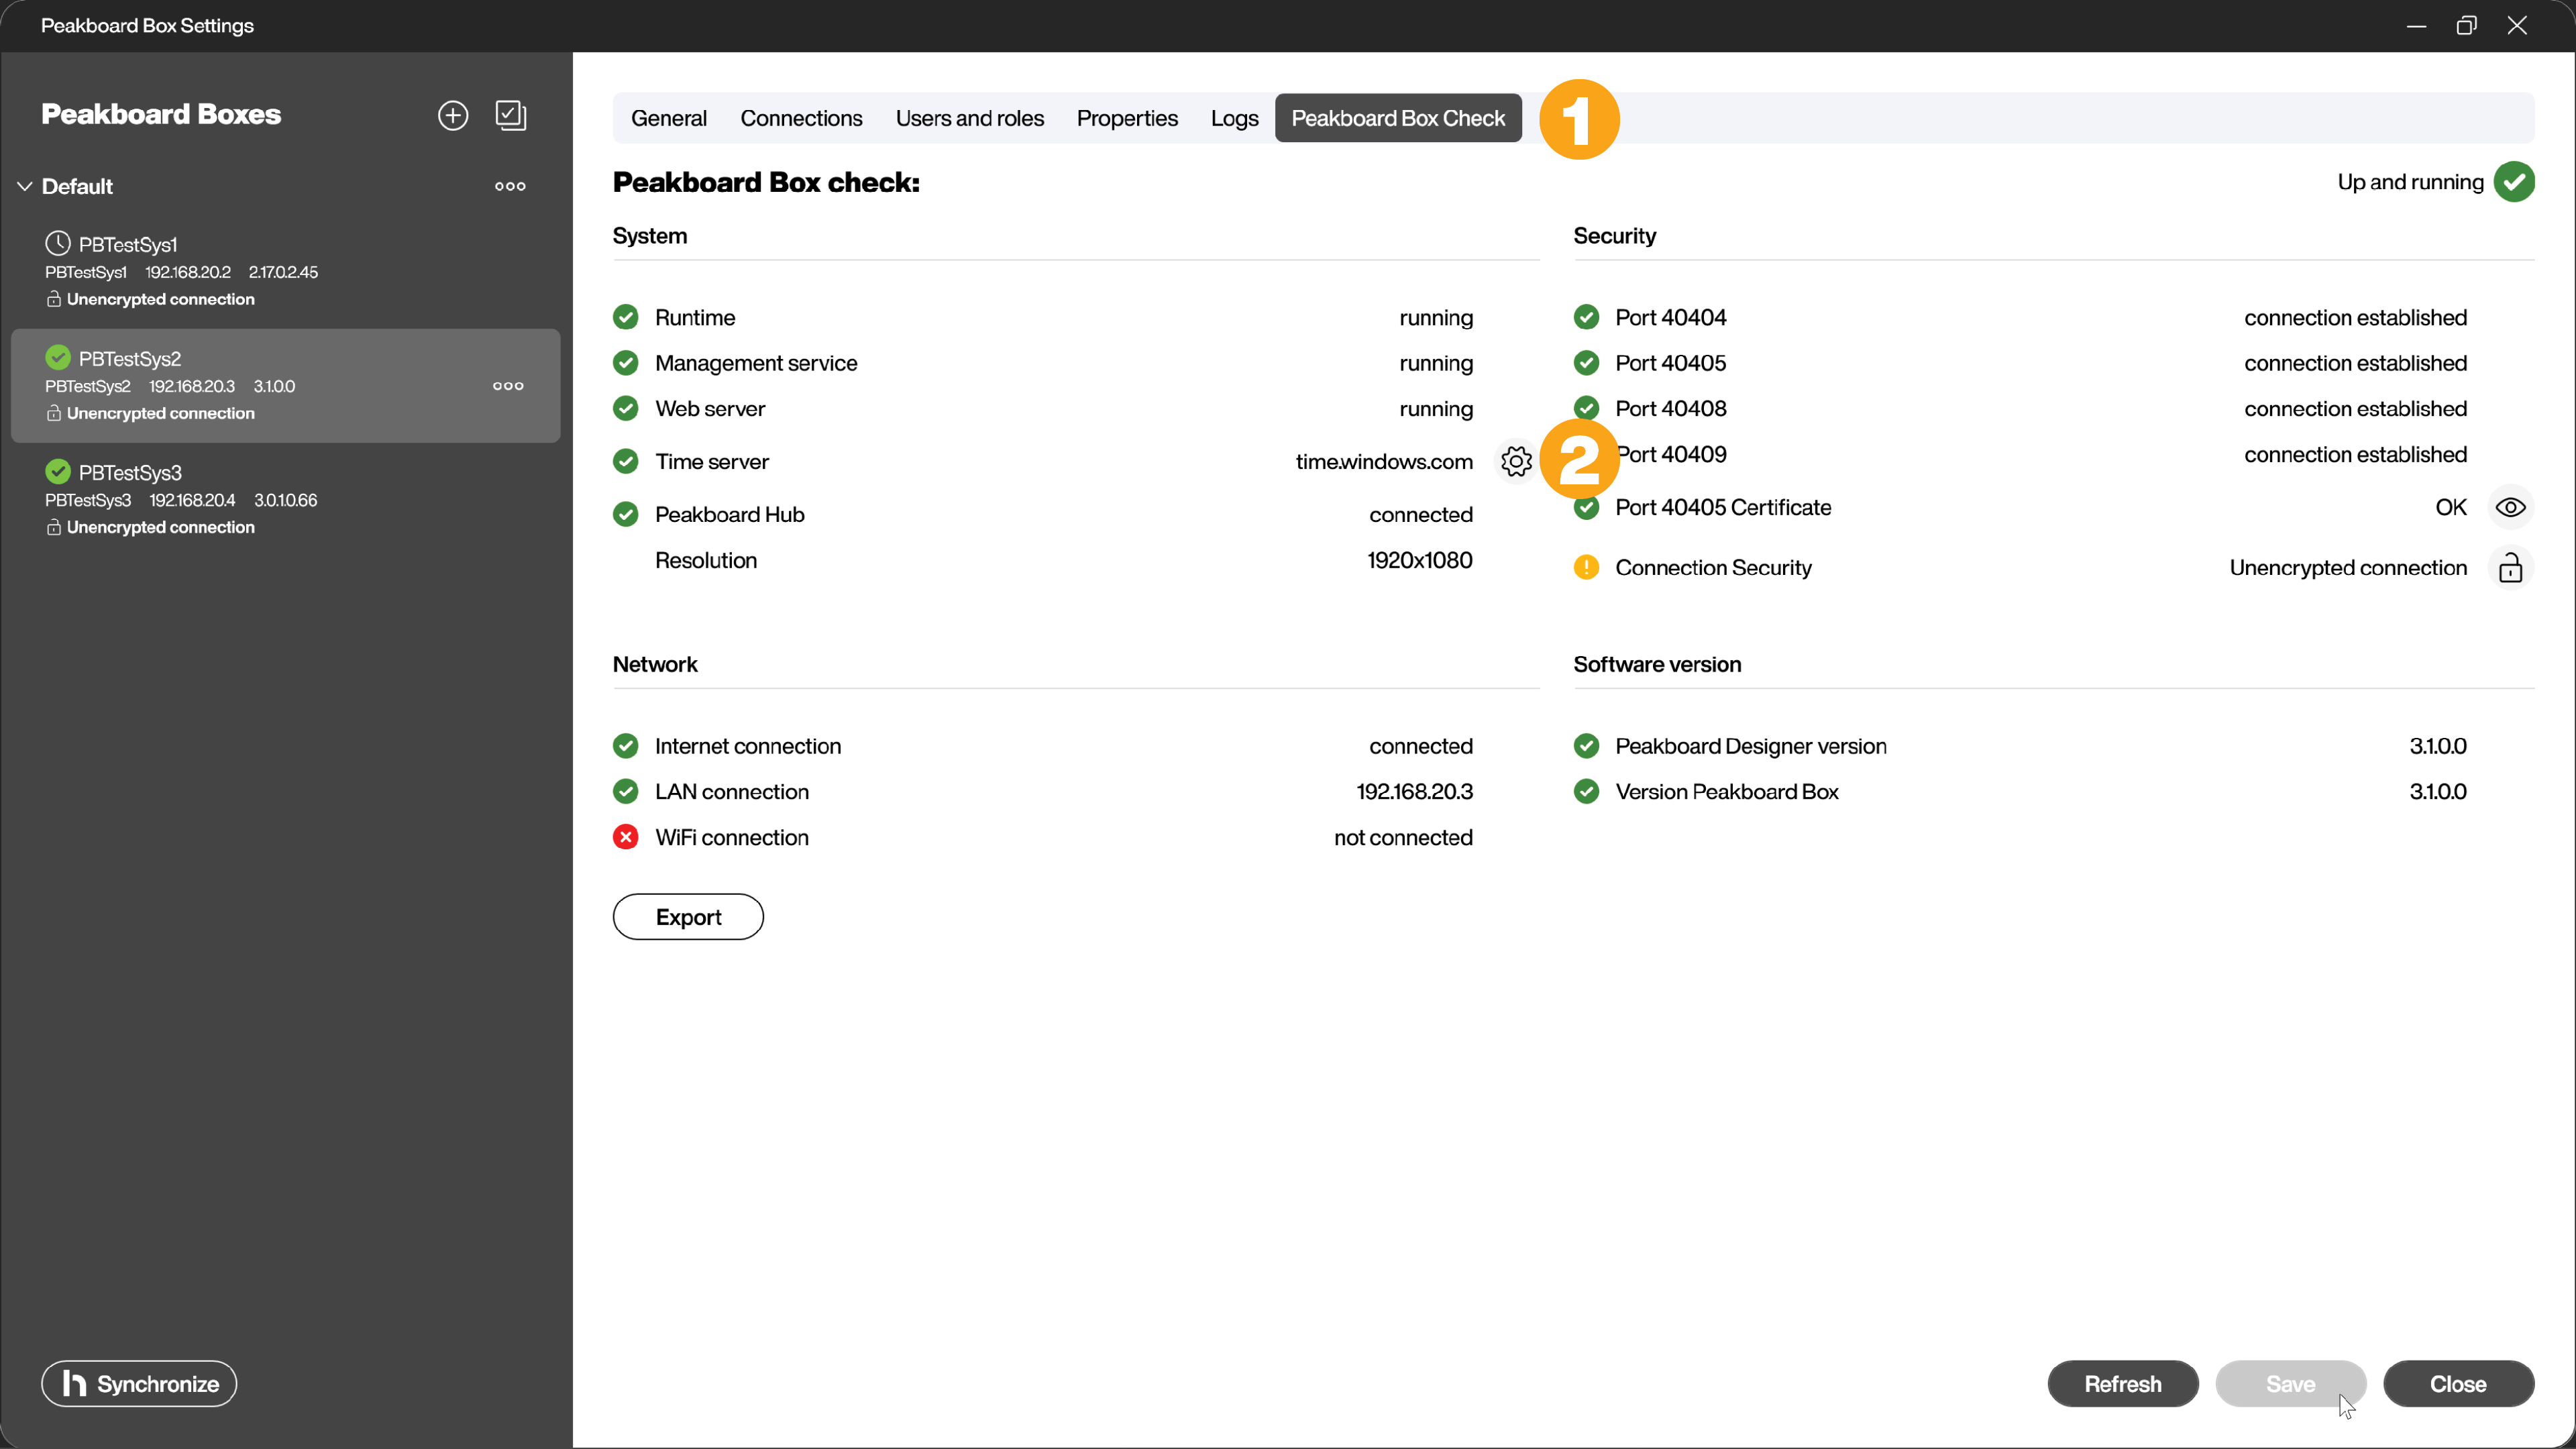
You can change the time server in the Peakboard Box settings. In the [Peakboard Box Check] tab (1) of your Peakboard Box, you will find the entry [Time server] in the System section. Click on the gear icon (2) to open the dialog for selecting the time server and time zone.
Fix for time synchronization error
Sometimes it can happen that the time cannot be synchronized correctly. To fix this problem, you need to change the type of communication between Windows and the NTP (Network Time Protocol) to client mode.
To make this change, you must add the following parameter after the URL or IP of the time server in the Peakboard Box settings: ,0x8.