Controls
Drawing Area
The Drawing Area is an interactive control that allows users to draw directly on the visualization using their finger or a stylus. It is particularly suitable for use cases such as:
- Digital signatures for document approvals, order confirmations, or delivery notes
- Quality inspections where inspectors mark defects directly on an image
- Audit applications for documenting inspections with a signature
- Sketches and notes for spontaneous annotations on the dashboard
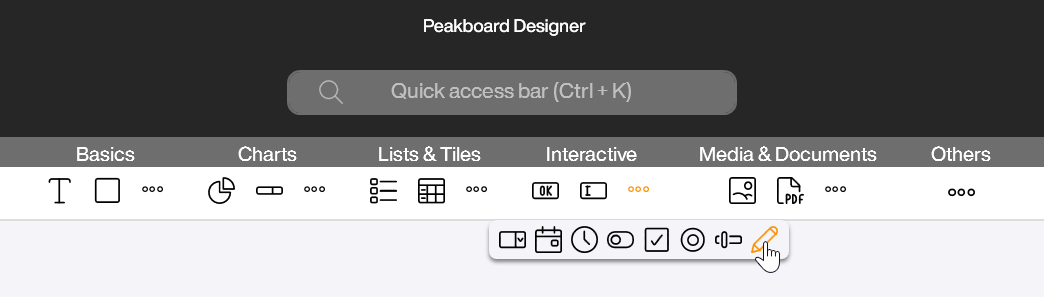
You can find the Drawing Area in the Peakboard Designer in the Interactive group (1). Simply drag and drop the control into the designer or place it on your workspace with a double-click.
Configuration and Properties
1 Appearance
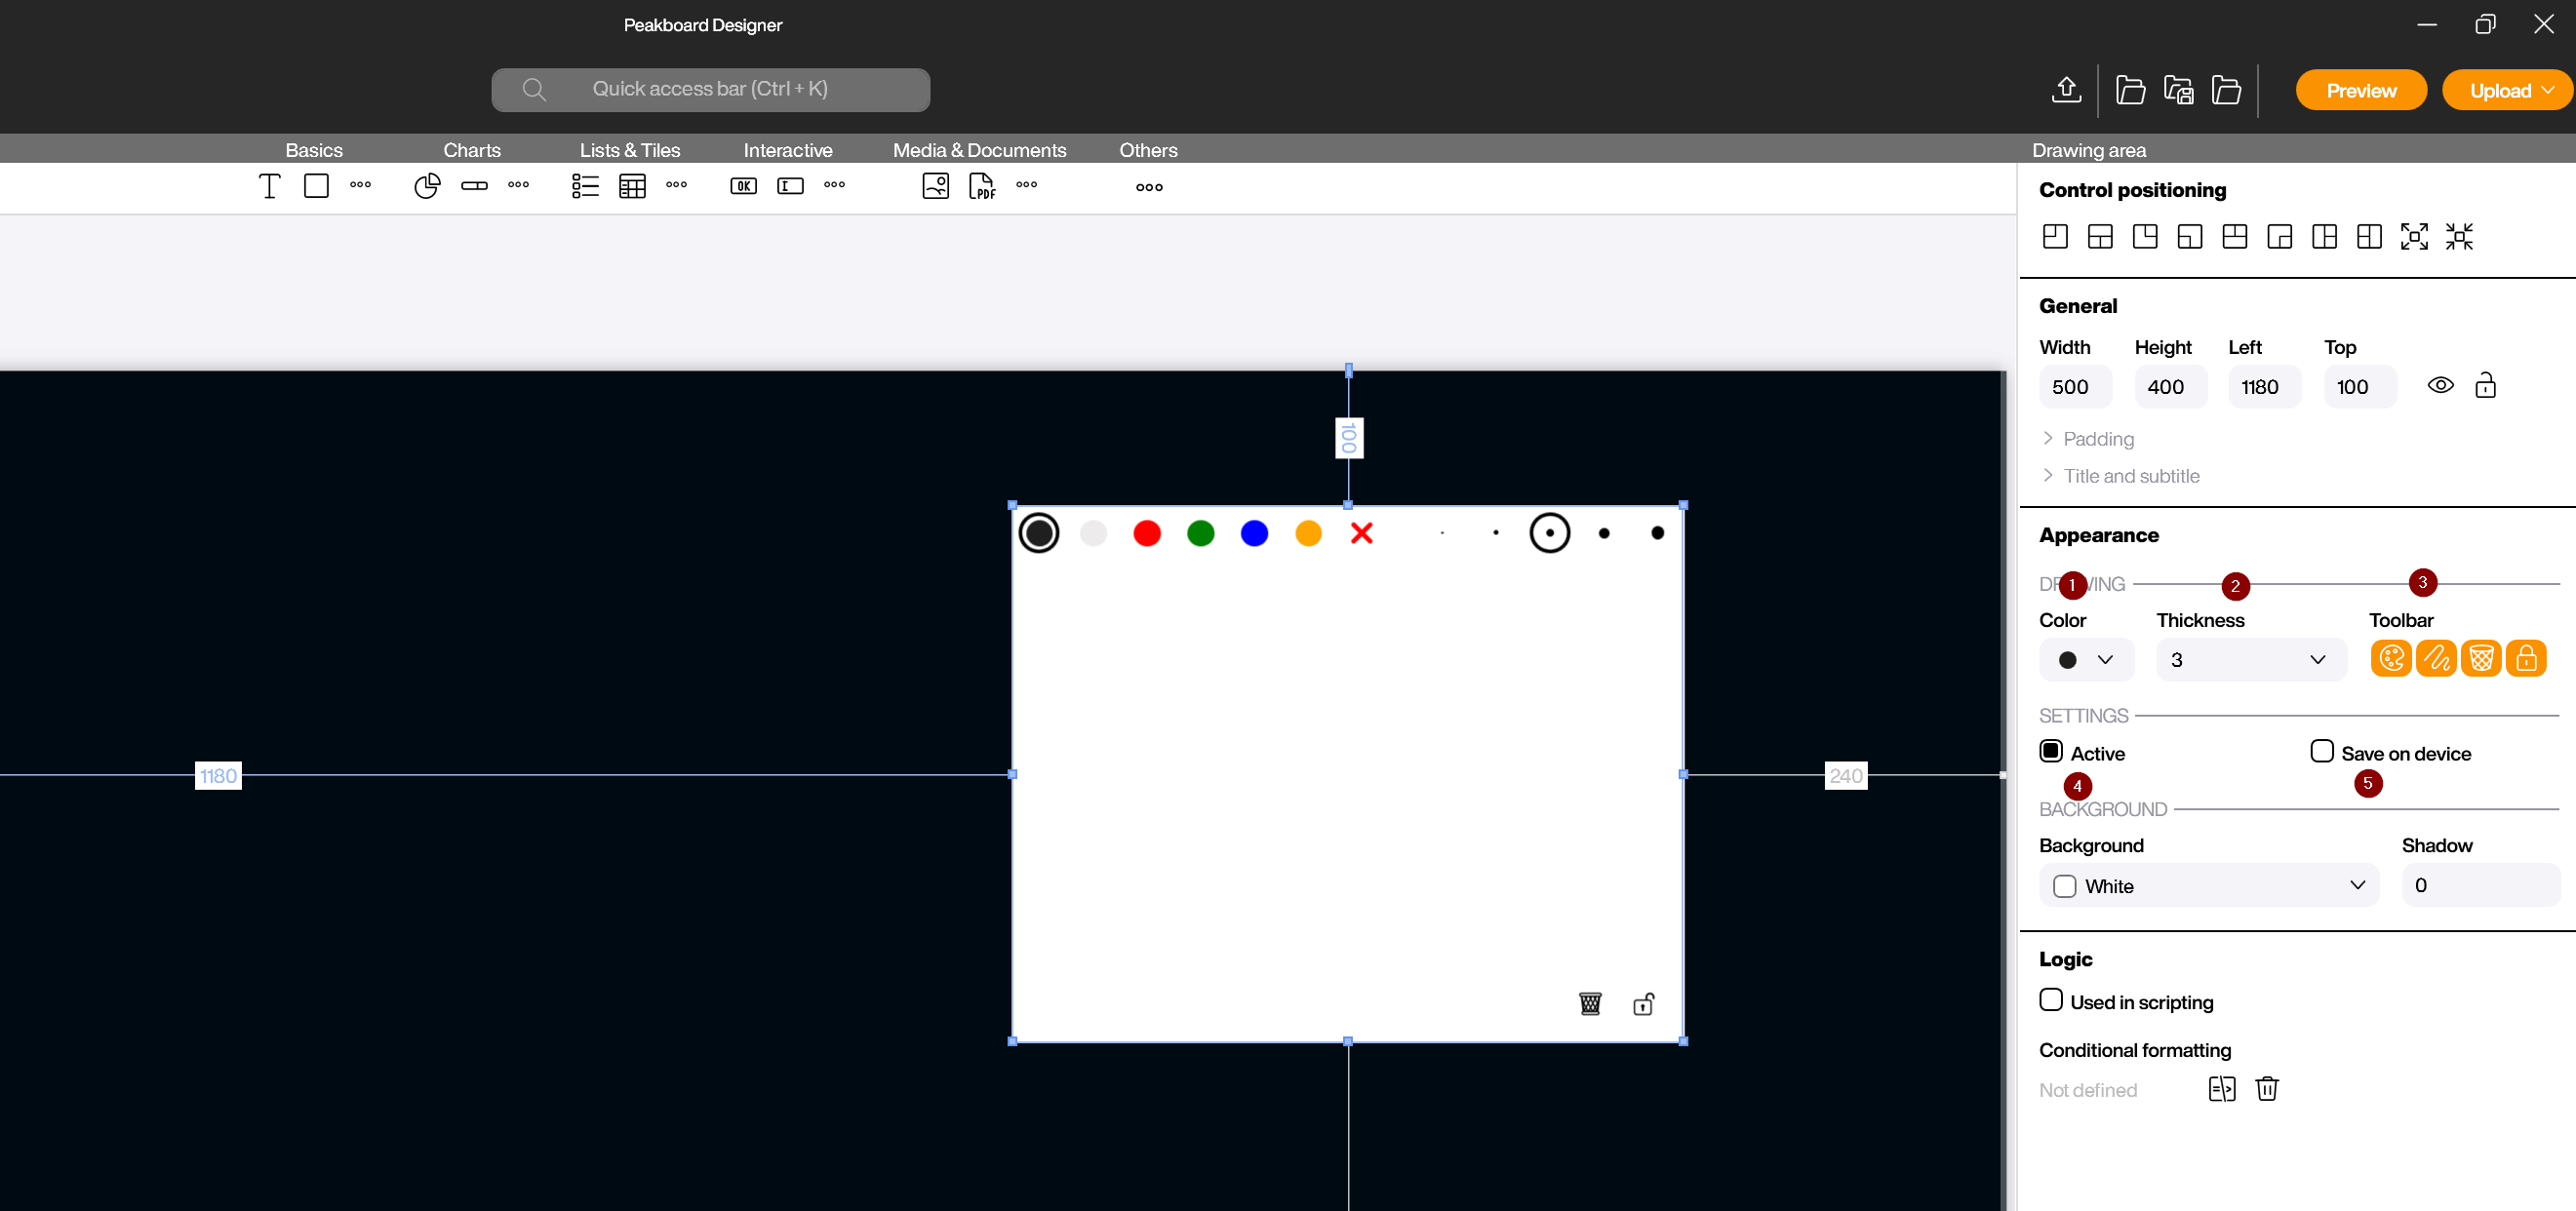
In the properties on the right side, you can customize the appearance of the drawing area and the brush:
- Color: Select the default color of the brush. The user can change this color at runtime via the toolbar, provided the color selection is enabled (1).
- Thickness: Set the default thickness of the brush. The user can also adjust this via the toolbar if needed (2).
- Toolbar: Use the four icons to define which options are available to the user in the toolbar: color selection, thickness selection, activation button and clear button (3). For example, for a simple signature application, you can hide all options and only show the clear button.
- Active: When enabled, the user can draw on the surface. When disabled, touches pass through to underlying elements such as buttons (4). This option is useful when the drawing area is placed over other interactive elements and you want to enable or disable drawing via script.
- Save on device: The drawing is persistently saved on the Peakboard Box and restored when the visualization is started again (5). Disable this option if the drawing area should be empty after each restart.
2 Background
- Background: Choose the background color of the drawing area. A white or transparent background is suitable for signatures.
- Shadow: Set a shadow value for the control to visually separate it from the rest of the interface.
Saving and Processing Drawings
The Drawing Area can be combined with Building Blocks to save and process drawings or signatures. Typical destinations include:
- Peakboard Hub: Save signatures as image files in a Hub folder, e.g., with timestamp and order number in the filename
- SharePoint: Upload drawings directly to a SharePoint library
- Email: Send the drawing as an attachment via email
- External systems: Transfer the drawing as a Base64-encoded string to external APIs
Use the screenshot functions of the Building Blocks in combination with a group that contains only the drawing area.
Scripting
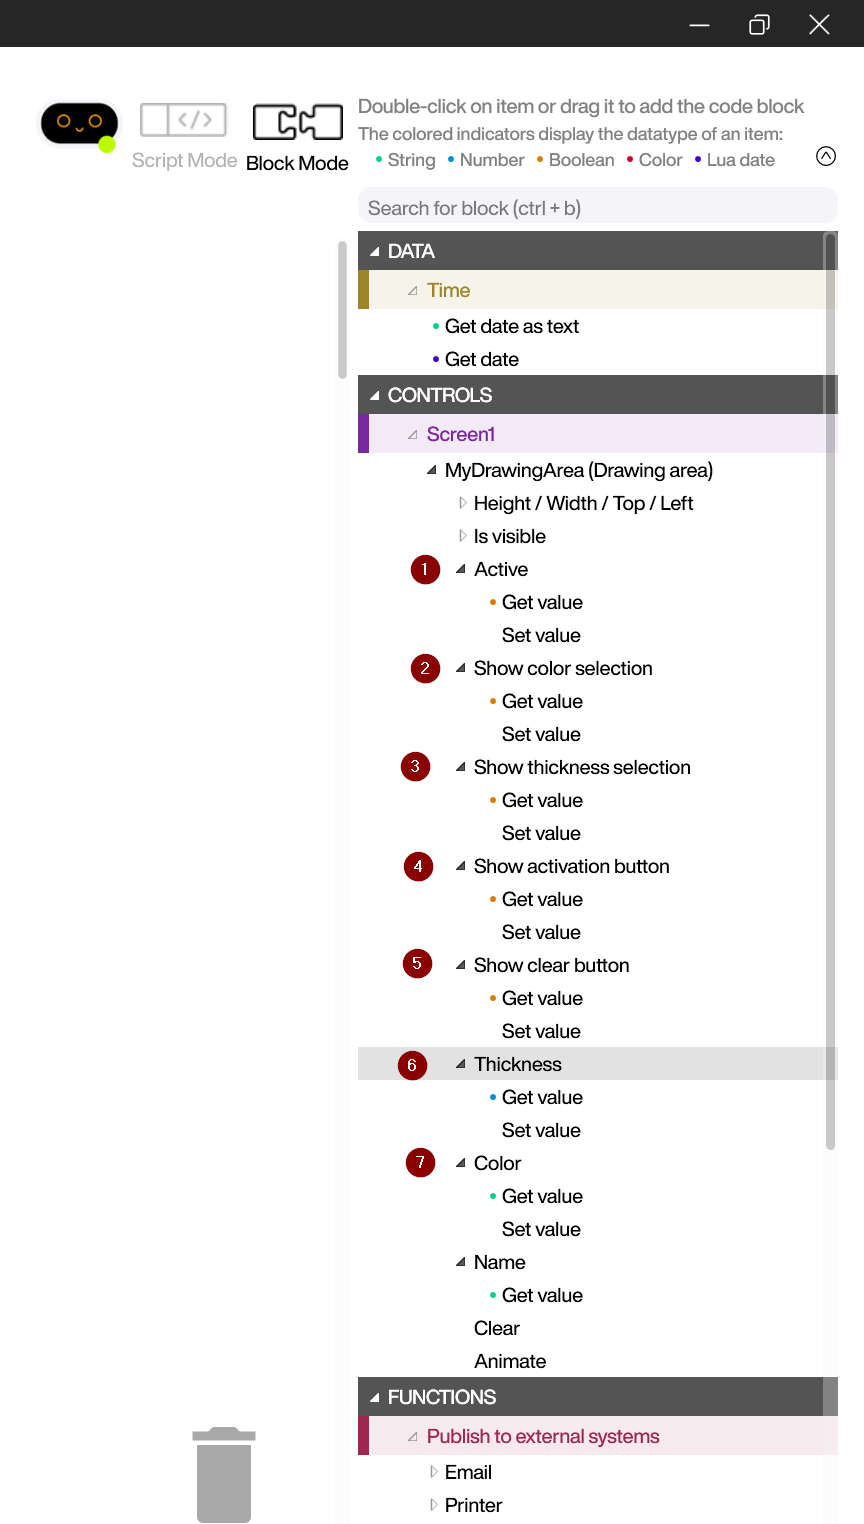
The Drawing Area offers various properties and functions for scripting:
- Active: Read or set the activation status of the drawing area (1). This allows you to enable drawing via script, e.g., after a user has pressed a button.
- Show color selection: Control the visibility of the color selection in the toolbar (2).
- Show thickness selection: Control the visibility of the thickness selection in the toolbar (3).
- Show activation button: Control the visibility of the activation button in the toolbar (4).
- Show clear button: Control the visibility of the clear button in the toolbar (5).
- Thickness: Read or set the current brush thickness (6).
- Color: Read or set the current brush color (7).
- Clear: Delete all drawings from the surface. This function is particularly useful after saving a signature to prepare the area for the next input.